
Naturalising bulbs is one of the easiest ways to create drifts of colour in the garden, and it will only improve as the years pass. Whether you plant under trees or in the lawn, choose bulbs with different heights, shapes and colours for a cost-effective way to maintain interest. Naturalised bulbs not only look great, they’re also a treat for hungry pollinators! Here’s our guide to the best varieties to try and tips on how to successfully naturalise your bulbs.
What does naturalising bulbs mean?
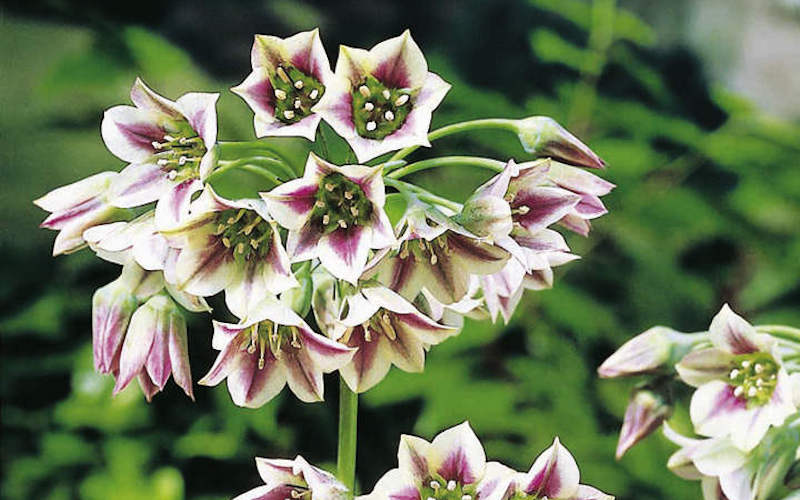
Image: Floramedia
Naturalising your bulbs simply means planting and then leaving them in position after flowering to allow them to self seed and propagate themselves naturally. Choose a spot in the garden with plenty of space, where you’re happy for the flowers to return in larger clumps year after year.
Your bulbs should go into the ground at their ordinary planting times. This means that spring-flowering bulbs should be planted in autumn, and summer-flowering bulbs should go in after the last frosts in spring.
How to plant your bulbs to naturalise
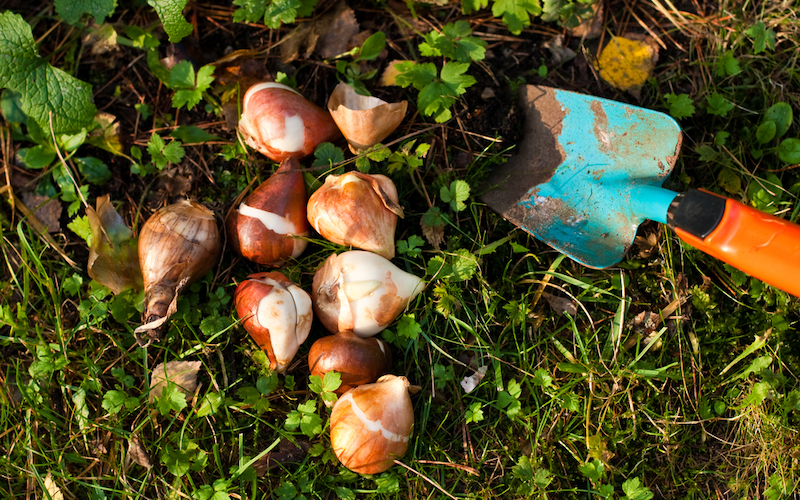
Image: Shutterstock
Plant your bulbs in an area you want to fill with colour, and then leave them alone to proliferate. To plant small bulbs in grass, use a garden fork to make holes in the turf. As a general rule of thumb, the holes should be about 3 times the depth of the bulbs. Finally, backfill the holes with soil and water them in. The best way to plant larger bulbs is to lift a strip of turf and scatter the bulbs underneath. Score the underside of the turf to loosen the soil before you replace it and then give the area a good watering with the hose.
Remember all bulbs should be left to die back naturally for a minimum of 6 weeks after flowering to allow them plenty of time to build up strength for next year. Watch out for the flower heads too – leave the seed to mature and disperse before you mow them down.
Where can I naturalise my bulbs?
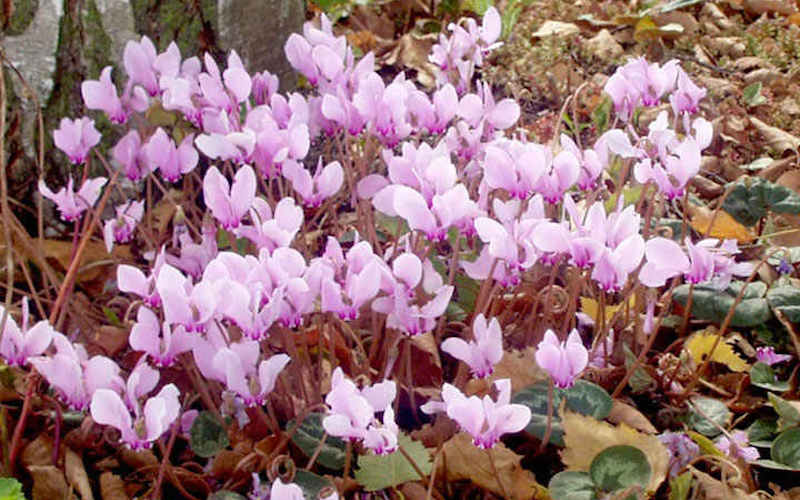
Image: Cyclamen hederifolium plants from Suttons
An area of the garden that doesn’t see much traffic is the best place to naturalise your bulbs. Alternatively, put them in a patch of grass that doesn’t need regular mowing. The trick is to encourage the planting to evolve into something that looks natural and organic, so work them into the edges of lawns and add them to wildflower zones too.
Some bulbs naturalise well in woodland areas, beneath deciduous trees. The bare branches in early spring and late autumn should allow enough light to filter through for the flowers to flourish.
Most bulbs will also grow happily in dappled shade. If you’re creating a woodland garden, mix your bulbs with ferns, hellebores and primula for the best effect. Take a little care when naturalising English bluebells as they sometimes overwhelm other flowers in their path.
Best bulbs for naturalising in grass
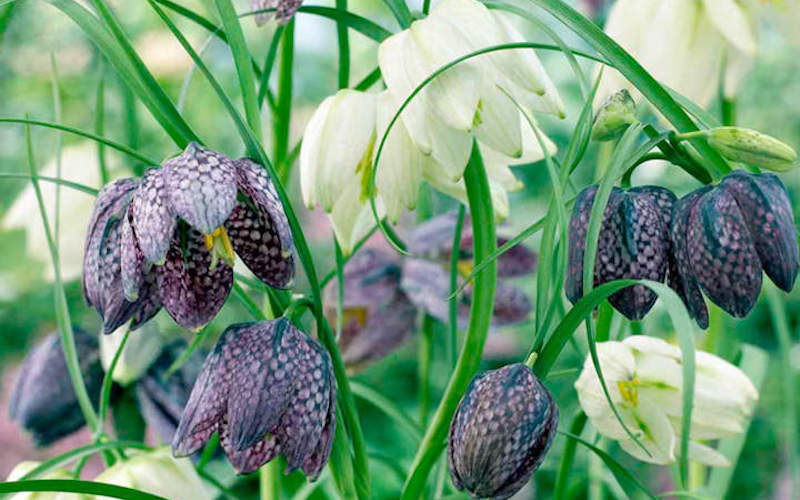
Image: Visions BV, Netherlands
If planting your bulbs in lawns, choose early flowering varieties that won’t stop you from cutting the grass later in the summer. These bulbs are ideal for lawns:
Which bulbs are suitable for naturalising in woodland?
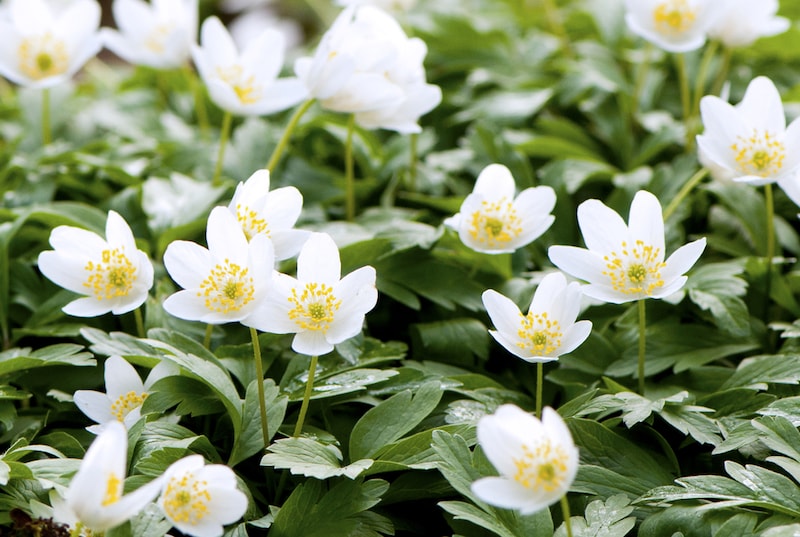
Image: Nazzu/Shutterstock
These bulbs cope well with dappled shade or woodland areas:
- Erythronium ‘Purple King’
- Hardy Cyclamen
- Muscari armeniacum
- Woodland tulip
- Trillium grandiflorum
Quick guide to naturalising bulbs
- Choose the right bulb for the conditions in your garden
- Your planting holes should be about 3 times as deep as the bulbs
- Scatter the bulbs and plant them where they fall for a natural look (no neat rows!)
- Allow the leaves to die back naturally after flowering
We hope this has given you plenty of ideas for how to naturalise bulbs in your own garden. See our best expert advice on growing spring-flowering bulbs for more information.
Lead image: Leucojum aestivum Bulbs – Summer Snowflake


Hi Anthony, unfortunately at present we don’t have a specific growing guide available as a blog post on lily bulbs. However, if you follow this link at the bottom of the page you will find plenty of information on planting and growing lily bulbs – https://www.suttons.co.uk/flower-plants/flowering-bulbs/lily-bulbs/
Here is the advice:
Planting lily bulbs:
Ideally, Lily bulbs should be planted in full sun with a little dappled shade for part of the day
Well-drained soil is essential
Protect from strong winds
Plant where the perfume will be appreciated – near doors, windows or outdoor seating areas
How to grow Lily Bulbs?
Plant in the autumn or early spring
Plant 10 to 23cm deep and 23 to 38 cm apart
Mulch lightly with compost after planting
Water regularly during dry spells but take care not to over-water as this may cause the bulbs to rot
Remove spent flower stems
Leave the yellowing leaves to die down naturally
Please note that lilies do not tend to grow to full height in their first year
We hope this is helpful to you.
Best regards,
The Suttons Team
I bought some lily bulbs from you they arrived yesterday. This is the recommended website for planting guide. I cannot find any reference to how or when to plant them
Great ideas for people with space. I strongly believe that sometimes natural looks better than artificially arranged!