Growing your own flower and veg from seed is very rewarding, so it’s frustrating when things don’t go to plan. From failure to germinate to scraggly seedlings, here are some of the main ways that seed sowing can go wrong – and how to mitigate them.
Browse our full range of flower seeds for a colourful display and check out our vegetable seeds if you like to grow your own.
Why haven’t my seeds germinated?
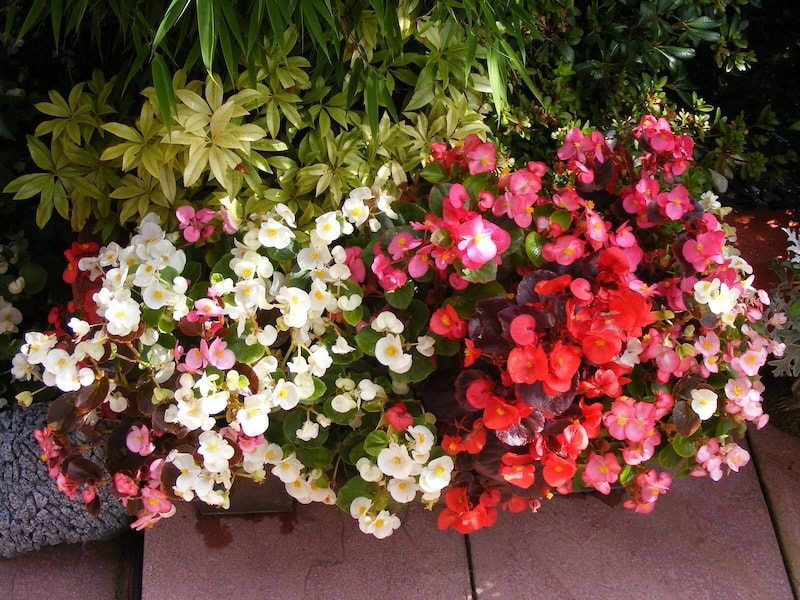
Image: Begonia F1 Devon Gems Mix – Supaseeds from Suttons
For successful germination, seeds need the correct levels of light, water, heat and oxygen. Here are some of the reasons your seeds can fail to germinate, along with an explanation of each in more detail below:
- Growing conditions too hot or too cold
- Soil that is too wet or too dry
- Seeds sown too shallow or too deep
- Pests ate the seeds
- Specialist germination instructions were not followed
- The seed was too old
1. Growing conditions too hot or too cold
Your Suttons seed packet will show a recommended germination temperature, and any variances in this may prevent the seeds from germinating. You can monitor growing conditions with a special soil thermometer.
- Indoors: Most varieties will successfully germinate at temperatures from 13-21C, which is easy to accomplish on a sunny windowsill or in a heated propagator. Remember to move seedlings to a cooler spot when they appear.
- Outdoors: Check your seed packets for the ideal months to sow direct outside, but remember that this can vary; in the north of the UK it may be necessary to sow a month later. You can help early sowings by using cloches to warm up the soil. Avoid sowing when the soil is cold and wet – these are the ideal conditions for rotting your seed!
2. Soil that is too wet or too dry
Your seeds need the right amount of moisture in order to germinate – if it’s too dry they will fail and if it’s too wet they’ll rot.
- Indoors: When sowing in seed trays, prepare your compost by watering it and letting it drain beforehand. Once you’ve sown your seeds, cover them with clear plastic to retain moisture to keep the soil damp for several days. If the surface begins to dry out, stand the seed tray in water until the surface becomes moist, then let it drain. Remove the plastic once the seeds germinate, to prevent rotting.
- Outdoors: Improve your soil by adding organic matter like well-rotted manure or homemade compost, which boosts drainage and air circulation in wet soils and helps to retain water in dry soils.
3. Seeds sown too shallow or too deep
Check the guidelines on your seed packet before burying your seeds beneath the soil. Some seeds need plenty of light to germinate, so they’ll only need a thin sprinkling of vermiculite over the top, or nothing at all. No instructions? The seed-size is a good indicator of how deep to sow.
- Small seeds (e.g. lettuce and begonia) require a very light covering of sieved compost or vermiculite
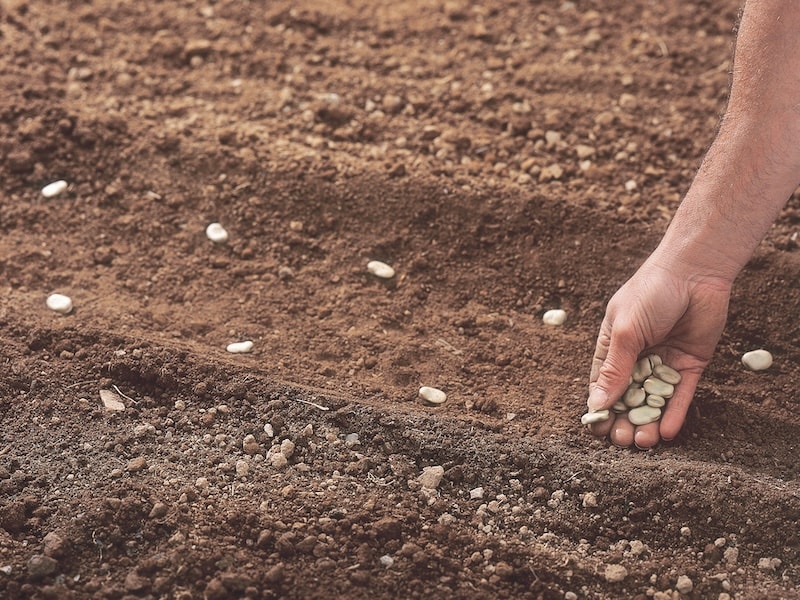
- Larger seeds (e.g. sunflowers and beans) should be sown several centimetres beneath the surface
- As a rule, most seeds need to be planted at a depth that is 3 times their own width.
4. Pests ate the seeds
Mice and birds see seeds sown outdoors as a lovely snack, with the large seeds of sunflowers, peas and beans proving particularly tempting! Deter pests while your seeds germinate by covering your sowings with netting, cloches or chicken wire. Remember to check netting frequently in case it entangles birds or other wildlife.
5. Specialist germination instructions were not followed
Always read the seed packet carefully for any special treatment that your variety needs. Some may state that chilling, chipping, scarifying or soaking is needed before you can sow them, so don’t skip these essential steps.
6. The seed was too old
All seeds state a ‘sow by’ date – if this date has passed, your seed may still germinate, but the risk of failure is increased. Buying new seed each year will increase your chances of success, saving you time and money.
For a quick recap on which flower and vegetable seeds to sow and when, see our Fruit & Vegetable Sowing, Harvesting & Flowering Chart.
Why did my seedlings fail?
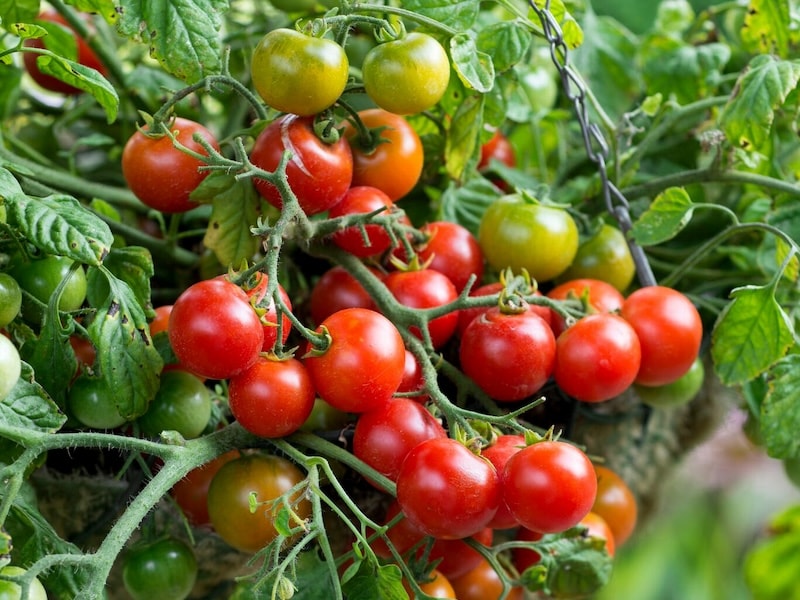
Image: Tomato F1 ‘Tumbling Bella (Terenzo) (Determinate)’ from Suttons
Once your seeds have germinated and are large enough to handle, transferring them into individual pots will give each delicate plant the light, space and nutrients it requires to thrive. But naturally, things don’t always go to plan! Here are some of the most common mistakes and tips on how to avoid them.
- Seedlings not pricked out at the right time
- Seedlings succumb to damping off
- Seedlings grow too tall and leggy
- Seedlings not hardened off properly
1. Seedlings not pricked out at the right time
- Too early: as a general rule, you should wait until your seedlings have formed their first true leaves – these are the second set of leaves after the initial seed leaves form. But keep reading because there are other signs that tell you when the time is right! Gently lift one or two of your seedlings out of the seed tray with a dibber. Are the roots very tiny? You’ll need to postpone for a few days while they grow, because seedlings need sufficient root growth to cope with the transplant process.
- Too late: delaying pricking out can lead to your seedlings having to fight for light and nutrients. Fast-growing plants like tomatoes can quickly become sickly-looking and delaying this process can limit plant growth – even after potting on. Seedlings are extremely delicate, and it’s easy to damage them when potting on. Gently lift seedlings with a dibber and use the cotyledons as ‘handles’ – these aren’t true leaves, so it doesn’t matter if they get damaged.
2. Seedlings succumb to damping off
Damping off is a common reason that seedlings mysteriously die or rot away at their bases. It can be caused by several fungal diseases that occur in wet soil, so reduce the risk with these simple steps:
- Use fresh compost – not half a bag saved from last year
- Before each use, wash, disinfect and dry your pots and seed trays
- Let the compost dry out slightly between waterings
- Water with clean tap water
- Ensure seedlings are kept well-ventilated
3. Seedlings grow too tall and leggy
This can be caused by warm temperatures or when light levels are low – seedlings will strain to reach the light, growing tall and spindly. To avoid thin stems that flop over, try growing seedlings on the brightest windowsill possible but avoid strong sunlight, which can scorch your plants.
4. Seedlings not hardened off properly
Remember that cold spells, heatwaves, winds, and heavy rain can all damage or kill young plants. Moving plants outside once the conditions are right is key, so when weather conditions are favourable, harden off your indoor-grown plants for a couple of weeks before planting them outside:
- Place plants outdoors, in a sheltered position, during the daytime
- Bring them back under cover at night
- After doing this for 7 to 14 days, they should be able to cope with being planted outdoors.
We hope this helps you to succeed with sowing seeds and troubleshoot the most common reasons for failure. Too late to start seeds? Shop our range of garden-ready flower plants and fill your vegetable patch with supercharged grafted vegetable plants for a quick and easy solution.
Lead image: Suttons
Last Updated on March 18, 2025 by Suttons Horticultural Team


