Sowing vegetable seeds is a low cost and rewarding method of raising your own plants. Whether you have a large veg patch or you’re starting a container garden on your patio or balcony, there’s nothing more satisfying than harvesting a crop of tasty produce that you’ve grown yourself.
Seeds are easy to sow. You can start them off indoors on a bright windowsill and then plant them outside once all danger of frost has passed. Alternatively, you can direct sow many seeds outside into the ground in the final position where you want them to grow. Just check the instructions on each seed packet for the optimum planting time.
Where can I grow vegetables?
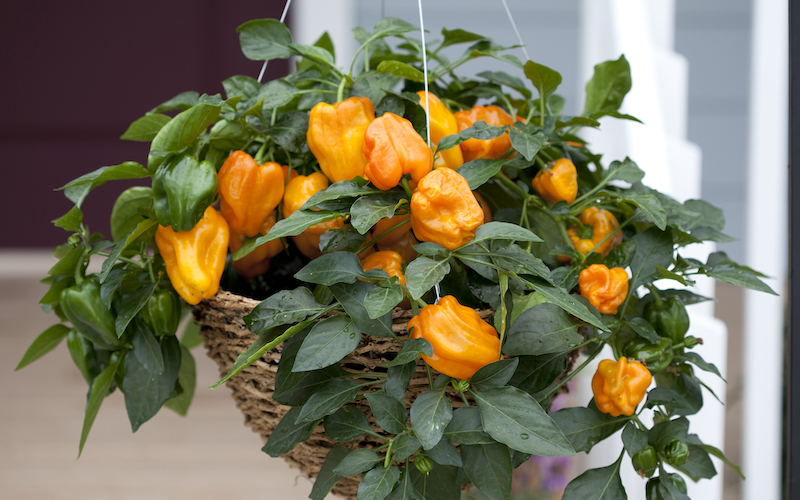
Image: Pepper seeds ‘F1 Mohawk’ from Suttons
You don’t need a big garden or an allotment to start growing your own vegetables – any space will do as long as it’s sunny. If you have room, a dedicated veg patch is ideal. However you can also grow crops in window boxes, patio containers or in flower borders. Some things, like tomatoes, can even be grown in hanging baskets.
Raised beds provide an attractive and practical solution because you can select the best growing position e.g. a sheltered and sunny spot near the water butt. You can also fill them with good quality compost if the soil in your garden is not of a very high quality.
Top tip: Plant your veg in old buckets, sinks or wheelbarrows. Car boot sales and charity shops are good places to pick up cheap and unusual planters.
What vegetables can I grow from seed?
There is a wide range of vegetables that are quick and easy to grow.
| Windowsill | Window box | Patio | Garden | |
|---|---|---|---|---|
| Tomatoes | Sweet & Neat | Rainbow Drops Mix | Lizzano | Moneymaker |
| Peppers | Redskin | Mohawk | Gypsy | Aji Habanero |
| Beans | n/a | n/a | Mascotte | Dwarf Safari |
| Peas | n/a | n/a | n/a | Tom Thumb |
| Salads | Speedy Cos Lettuce salad | Speedy Spicy salad | Little Gem | Speedy Oriental salad |
| Carrots | n/a | Amsterdam Forcing 3 | Early Nantes 5 | Bangor |
| Beetroot | n/a | Action | Boltardy | Globe 2 |
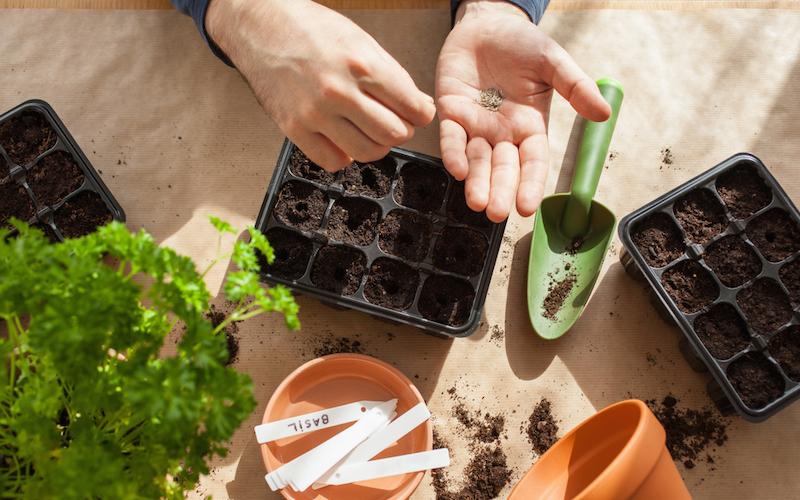
How to sow vegetable seeds
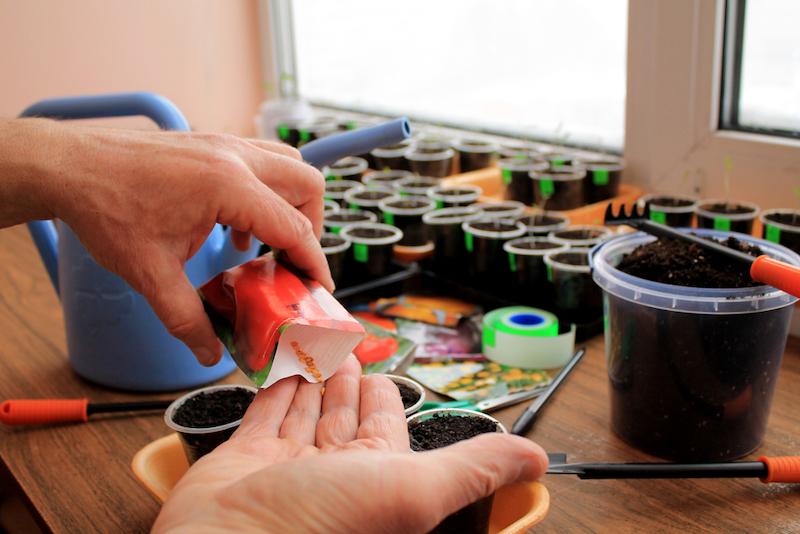
Image: Syndy1/Shutterstock
If you’re starting your seeds off indoors, follow these easy steps to germinate them successfully:
- Fill a seed tray (or other container) with good quality compost such as Premium peat free multi-purpose compost, leaving a gap of about 1cm at the top of the container.
- Scatter the seeds evenly, pressing them gently into the surface.
- Cover larger seeds with a light covering of compost.
- Gently water your seeds and keep them in a warm, draught-free spot indoors (see back of packets for more information).
- Crops like salad leaves, beetroot, carrots, parsnips etc. can be sown directly where they are to grow.
- See our expert guide to sowing vegetable seeds for tried-and-tested tips from experienced growers.
How to pot on your seedlings
Image: Suttons
If you’ve started your seeds off in trays indoors, you’ll need to transfer them to larger pots as soon as they’re large enough to handle. 8cm (3″) pots are usually the best size to use for this job. This allows them to grow and develop more easily.
- Gently hold the top leaves and carefully ease the seedlings out of the seed tray. Don’t hold them by their delicate stems.
- Use a pencil or dibber to create a hole in the ‘growing on’ pots or containers.
- Place your seedlings into the holes, taking care not to damage the roots.
- Gently firm the compost around the roots and stem to leave the first leaves just above the surface.
- Water gently.
- Keep them in a warm spot indoors and protect from direct sunlight for the first three to four days.
How to sow hardy seeds outside
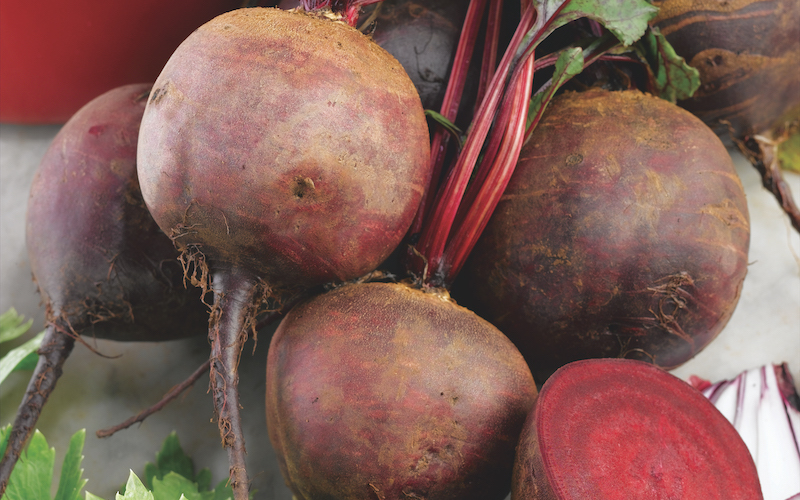
Image: Seed Tape – Beetroot Boltardy from Suttons
- Prepare your seedbed in a sunny, open spot (March-May for most vegetables).
- Dig over the soil and leave until the first weeds appear. Pick out these weeds and rake the soil to a fine crumbly surface.
- Sow your seed. The ‘broadcast’ method is where you scatter the seed over the entire surface and cover lightly with compost. The ‘row’ method is where you sow into neat drills before covering. It’s useful with fine seeds like carrots and makes it easier to weed between your crops.
- Water well using a watering can with a fine rose.
- Alternatively, try one of our seed tapes for a quick and easy shortcut. Simply mark out a groove in the soil where you want your crop to grow, lay the tape in the groove and cover with soil. Water well and wait for the vegetables to grow. Watch our video below for more seed tape & mat growing advice.
Top tip: Dig a good quality general garden fertiliser or compost into the soil before sowing the seeds. It will give you a better crop of tasty vegetables.
How to thin out your crops
When the seedlings are large enough to handle, thin out (not required if using seed tapes) to the distance shown on the pack. Use any surplus seedlings to fill any gaps that might have appeared. Always water transplanted seedlings well.
How to grow vegetables in containers and pots
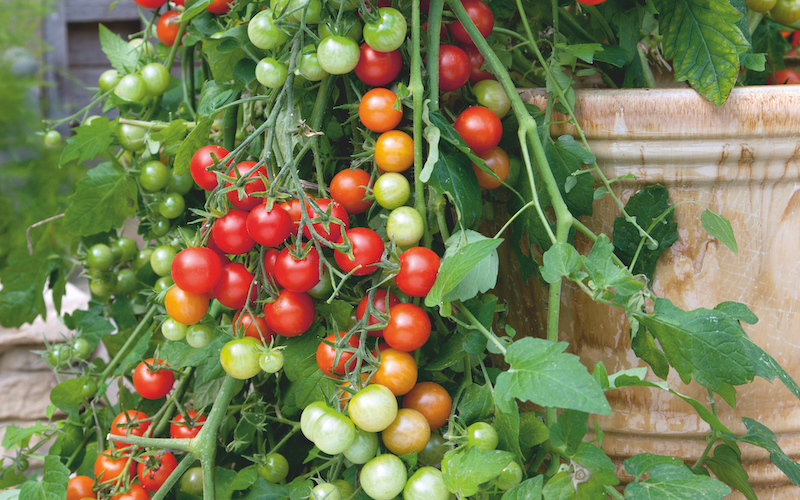
Image: Suttons
You can achieve a glorious selection of vegetables on your patio using a variety of containers. Anything from washing-up bowls and wheelbarrows to old boots and tin cans can hold plants; so long as they have good drainage (making holes and placing small stones or broken pots in the bottom in the container helps here). Then fill with good quality compost and plant up as required, once all danger of frost has passed. For a quick and easy shortcut, see our list of short-rooted vegetables that you can plant straight into a growbag.
Don’t forget to water containers regularly, especially during hot weather. Apply a good quality liquid fertiliser weekly or add a slow-release fertiliser to the compost along with water retaining gel granules to help reduce the need for more frequent watering.
Why you should rotate your crops
Image: Maren Winter/Shutterstock
Once you’ve grown a family of vegetables in a patch of ground, it’s best to move them to a new area the following year. This is called “crop rotation” and is a tried and tested method to reduce pests and diseases, maintain soil fertility and nutrients, and reduce the need for fertilisers.
When planning your plot you will firstly need to decide on the vegetables you want to grow (and eat), giving consideration to the amount of space you have available. If possible you should aim to produce vegetables all-year-round without shortages or excess. The area chosen should be divided into three equal sections.
An example of a 3-year crop rotation plan
Year 1
| Manured with Dung or Compost | Fertilisers and Lime* | Fertilisers |
|---|---|---|
| Section 1 of Plot | Section 2 of Plot – Brassicas | Section 3 of Plot – Roots |
| Peas | Cabbages | Potatoes |
| Beans | Sprouts | Carrots |
| Onions | Cauliflowers | Beetroot |
| Leeks | Kale | Parsnips |
| Lettuce | Broccoli | Swedes |
| Tomatoes | Seed bed for Green Crops | |
| Spinach | ||
| Spinach Beet | ||
| Celery | ||
| Succession Crops | Succession Crops | Succession Crops |
| Carrots | Onions | Spinach |
| Beetroot | Lettuce | |
| Cabbages |
Year 2
| Fertilisers and Lime* | Fertilisers | Manured with Dung or Compost |
|---|---|---|
| Section 1 of Plot Brassicass | Section 2 of Plot – Roots | Section 3 of Plot |
| Cabbages | Potatoes | Peas |
| Sprouts | Carrots | Beans |
| Cauliflowers | Beetroot | Onions |
| Kale | Parsnips | Leeks |
| Broccoli | Swedes | Lettuce |
| Seed bed for Green Crops | Tomatoes | |
| Spinach | Spinach Beet | |
| Celery | ||
| Succession Crops | Succession Crops | Succession Crops |
| Onions | Spinach | Carrots |
| Lettuce | Beetroot | |
| Cabbages |
Year 3
| Fertilisers | Manured with Dung or Compost | Fertilisers and Lime* |
|---|---|---|
| Section 1 of Plot – Roots | Section 2 of Plot | Section 3 of Plot – Brassicas |
| Potatoes | Peas | Cabbages |
| Carrots | Beans | Sprouts |
| Beetroot | Onions | Cauliflowers |
| Parsnips | Leeks | Kale |
| Swedes | Lettuce | Broccoli |
| Tomatoes | Seed bed for Green Crops | |
| Spinach | ||
| Spinach Beet | ||
| Celery | ||
| Succession Crops | Succession Crops | Succession Crops |
| Spinach | Carrots | Spinach |
| Lettuce | Beetroot | |
| Cabbages |
*Only lime if soil is known to be acid.
Handy hints and money-saving gardening tips
Image: Frost Protection Fleece from Suttons
- Beans can be soaked overnight and placed on damp cotton wool or blotting paper to shoot. This will speed up the germination time.
- Seed trays are low cost and re-usable however you can start your seeds in something as simple as a margarine container – just remember to add holes for drainage.
- ALWAYS choose a good quality seed compost for the very best results.
- Seed swap with friends and family. If you each grow a different variety you can exchange the seedlings.
- Lollipop sticks make cheap and sturdy seed labels.
- Store spare seeds in a sealed container with a few grains of rice to keep them dry.
- Make fortnightly sowings of salad leaves to maintain fresh supplies throughout the summer.
- Keep picking runner beans, French beans and courgettes. This will encourage them to keep cropping, and ensures that the veg is picked when it’s still sweet and tender.
- Grow a selection of lettuce varieties to give your garden or container an interesting range of colour and leaf shape – this also provides a mix of taste and texture for your salads. Don’t forget to use the lettuce seedling thinnings in salads.
- Don’t allow containers to dry out. Many vegetables bolt (run to seed) or split if the water supply is erratic.
- For early beans, start the container indoors and move outside once the danger of frost has passed.
- Protect your pots from slug attack with copper tape around the pot – they don’t like to cross it!
- Plant some marigolds in with your tomato plants to discourage whitefly.
- Keep some polythene or fleece handy to cover young plants in bad weather. Always protect them from frost should the temperature fall significantly.
Last Updated on March 18, 2025 by Suttons Horticultural Team


