
Plant bare root hedging in autumn and you’ll have a cost-effective and nature-friendly screen in no time. Here’s a practical guide to choosing the best varieties for your garden, along with planting and care tips to keep your new hedge looking its best for many years to come.
See our full range of hedge plants for ideas.
What is a bare root hedge?
Bare root hedge plants are grown normally, then dug up during the dormant season and sold without any soil around their roots. Using bare root plants and trees to start a hedge is a cost-effective alternative to buying container grown plants.
Bare root hedging plants come in all shapes and sizes. Spiny varieties are fantastic for security, whilst evergreen hedging plants provide all year round privacy and protection from wind. For nature lovers, wildlife-friendly hedges are a great way to provide animals with a range of edible treats like blossoms, berries and nuts.
Which are the best bare root hedging plants?
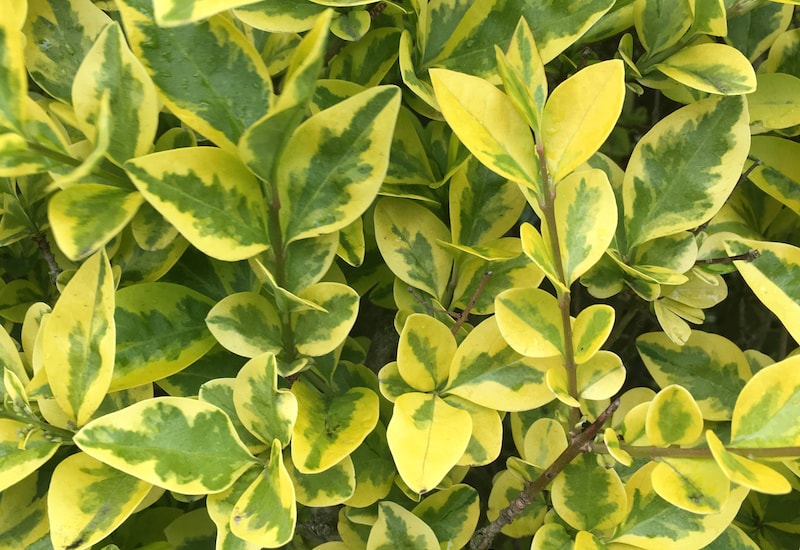
Image: Golden Privet (Hedging) from Suttons
For all year round screening, the best bare root hedging plants are evergreens like Taxus bacccata (native yew) and Prunus laurocerasus ‘Rotundifolia’ (Cherry Laurel). Both of these plants keep their leaves and produce bright glossy berries in autumn.
For coastal gardens, salt-tolerant hedges from plants like Carpinus betulus (hornbeam) make an excellent choice. Similar to beech in appearance, this native species will happily form a hedge, even in very salty winds.
Thorny Prunus spinosa (blackthorn) makes a wonderful security hedge, as well as providing edible sloes in the autumn and fabulous sprays of white blossom in the spring. Inter-plant this with sea buckthorn and berberis to create a spiky deterrent to uninvited guests and livestock.
Native hedging plants are excellent for wildlife gardens, providing seasonal food and shelter for animals. ‘Purple Filbert’ (purple hazel) is an attractive deciduous hedging plant that provides all year round interest, starting with catkins in winter and ending with delicious hazelnuts in autumn. But you don’t need to stick to a single variety. Wildlife hedge collections contain a mixture of plants like sloes, hazels, cherry plums and crab apples to get you off to a quick and easy start.
When should you plant a bare root hedge?
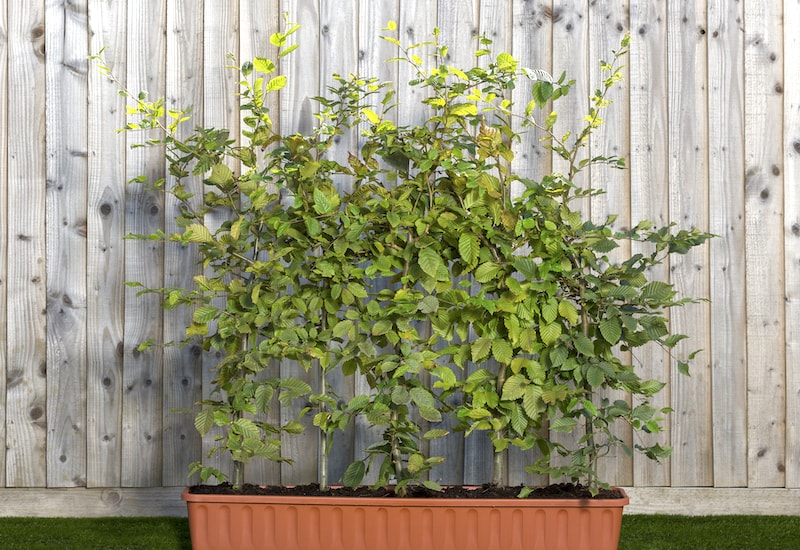
Image: Suttons
The best time to plant bare root hedge plants is in the winter, between October and March. The roots establish themselves during this time, and become strong enough to support fresh new leaf and stem growth in spring.
Plant your bare root hedging as soon as possible after it arrives in the post, leaving it out of the soil no longer than a few days. Soak the plants in water for a few hours before planting to fully rehydrate the roots.
If you can’t plant your bare root hedging plants within a few days of receiving them, pop them in a bucket and cover the roots with moist compost. This will keep the roots healthy until you have more time.
How to plant bare root hedging
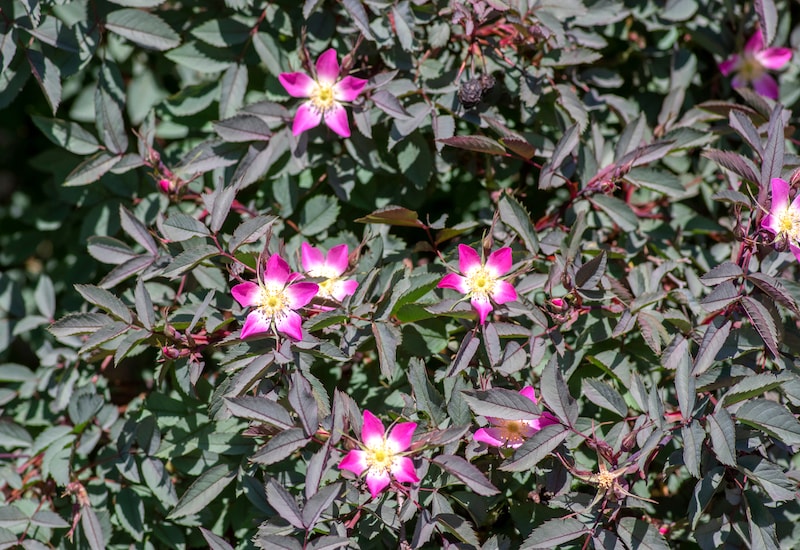
Image: Red Leaf Rose (Hedging) from Suttons
Provided the ground isn’t waterlogged or frozen, here’s a step-by-step guide to planting your new bare root hedge:
- Mark out your new boundary using string, leaving a space of at least 30cm on each side to allow the hedge to spread. Remove weeds to reduce the competition for water and nutrients.
- Dig a V-shape trench, deep enough to comfortably accommodate the roots. Make sure your soil has good drainage and isn’t prone to waterlogging. Add horticultural grit if necessary.
- Space your hedging plants so that there are roughly three to seven plants per metre, allowing enough space to keep the roots from touching. Depending on the thickness you want, you can plant in a single or double row, staggering a double row of plants in a zigzag pattern so there are fewer gaps.
- Backfill your trench, making sure the roots are covered and the soil is no higher than the juncture between the stem and the root. Firm the soil down well with your foot.
- Water each plant generously at the base, and continue to do so twice a week for the first year. Monitor your new hedge and don’t allow it to dry out in hot weather or become waterlogged when it’s very wet.
How to care for your new hedge
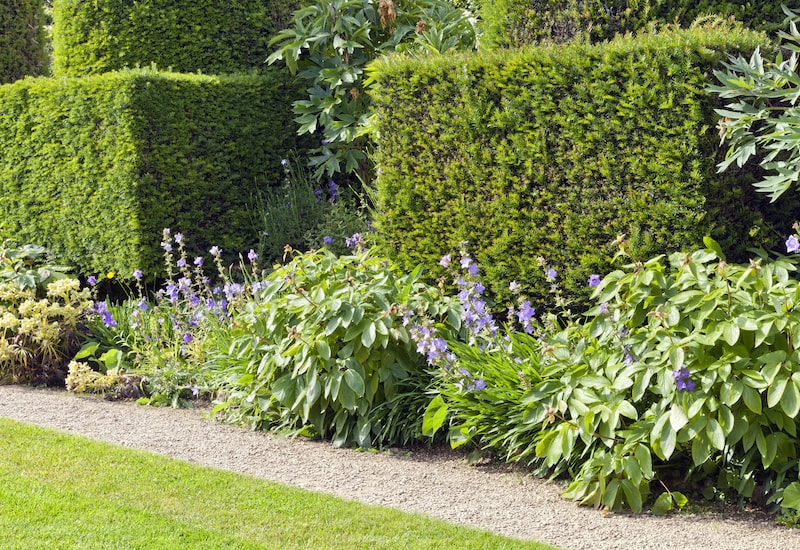
Image: Taxus Baccata (Yew) Plant from Suttons
Straight after planting your hedge, trim off any damaged top growth. Then prune back any leggy vertical growth, leaving just two to three buds on the stem. This will encourage the hedge to bush out and fill the space between plants.
Mulch your hedge after planting with organic matter, or strulch, to improve water retention around the roots and repress weed growth.
Every spring, apply a good quality general fertiliser to give the plants a boost just as the temperature starts to rise. Applying a potash fertiliser during summer will also encourage healthy growth.
We hope we’ve given you all the information you need to create an interesting, new, wildlife-friendly hedge. Share your photos with us on social media. We love to see your gardens!
Lead image: Carpinus betulus (Hornbeam) Hedging Range from Suttons
Last Updated on September 5, 2024 by Suttons Horticultural Team


