Highly nutritious, fast-growing and hugely varied, microgreens are a fantastic choice if you’re looking for a quick and easy way to grow salad at home. You don’t even need a garden to grow these tiny crops. They flourish on a sunny windowsill and provide you and your family with fresh, homegrown greens throughout the year.
To get you off to a flying start, we asked our favourite gardening bloggers to share their top tips. Here’s how to grow delicious microgreens.
Browse our full range of windowsill crops for more inspiration.
Contents:
- Why grow microgreens and sprouting seeds?
- Best advice on growing sprouting seeds in water
- Best advice on growing microgreens in soil
Why grow microgreens and sprouting seeds?
Image: Beansprouts (Mung Bean) Seeds from Suttons
Simply put, microgreens are “baby versions of virtually any type of vegetable you can name,” explains Stefan of Bite Sized Gardening. Well suited to windowsill gardening, Stefan says that they’re easy to grow and can be harvested a few minutes before serving. For a simple definition, Stefan explains that “sprouting seeds are things like bean sprouts. The seed has germinated…but there are no leaves.” Microgreens, on the other hand, are the next stage along. “The seed has germinated, has cotyledons and a hint of the first true leaves.” Read his full article on growing microgreens and sprouted seeds for more information on what to grow.
The Vegan Nutritionist, Rose Wyles, explains that microgreens are just a stage of growth for all plants, rather than a specific plant or seed. She says, “every plant has its microgreen phase. It happens right after the seed is planted and germinates in the soil.” From a health perspective, she hails microgreens as “nutritional powerhouses”. For example, Rose recommends pea shoots and cabbage microgreens as an excellent source of vitamin C, which “is necessary for wound healing, strengthening cartilage, teeth and bones, and immunity”. Read her full article to learn more.
Over on Instagram, Sussex-based chef Ross Pavey grows red cabbage microgreens for their incredible health benefits. Ross says that a recent study reveals that they “may be especially effective at reducing the risk of cardiovascular disease”. Follow this health-conscious microgreen farmer over at @tiny_kitchen_uk to see what he’s growing and pick up expert information on their flavour profiles.
Best advice on growing sprouting seeds in water
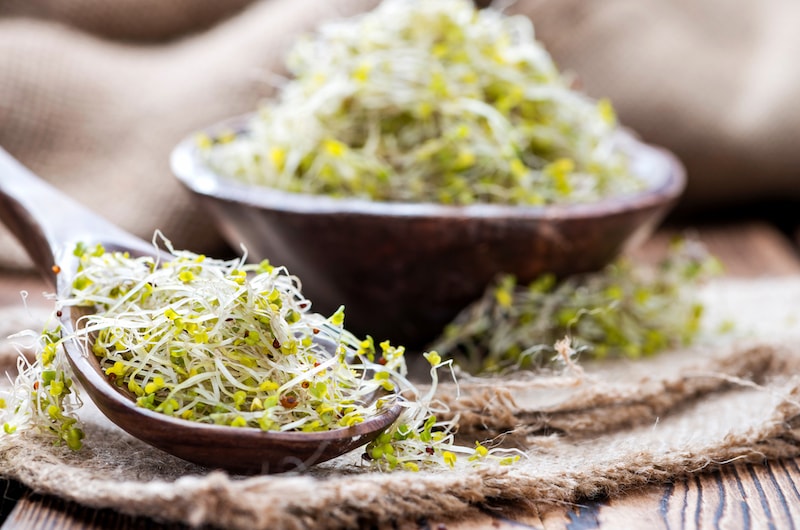
Image: Sprouting Seeds – Broccoli Green-Sprouting from Suttons
Unlike microgreens, sprouting seeds are most commonly grown in water, and The Vegetarian Society has shared an excellent step-by-step process on how to sprout seeds at home. They advise that “you should only use seeds, lentils or beans intended for sprouting use,” as these are subject to higher safety standards than seeds sold for regular gardening or cooking. Read the full article for a list of seeds that you can sprout at home, as well as those to avoid due to the toxins they contain.
Mark Ridsdill Smith of Vertical Veg takes a refreshingly simple approach to sprouting seeds: “In my experience, a DIY jam-jar sprouter is actually easier to use and gives better results than many commercial sprouters,” he enthuses. Mark drills holes in the lid of his jam-jar to allow for easy rinsing and draining. Read his article for 6 easy steps to sprout heaven.
While specialist kits allow you to sprout larger quantities of seeds, Benedict Vanheems of Grow Veg is a fan of the jar method as “a great way to dip your toe in the water to see if sprouting’s right for you”. He covers his jar with muslin to help drain the water, prevent the seeds from drying out and to reduce the risk of contamination from airborne moulds. Read Ben’s article on sprouting seeds for winter salads to find out how he gets such bumper crops!
Over on Instagram, nutritionist Emma has had great success sprouting her seeds in “anything from a sprouting jar to a Tupperware box or baking tray with 1 inch of soil in the bottom”. However you choose to grow yours, Emma urges you to “just give it a go, it’s all about having fun and experimenting.”Broccoli sprouts are a favourite of hers, taking just five days to grow. Follow her at @emma.cather1ne for more healthy eating inspiration.
Best advice on growing microgreens in soil
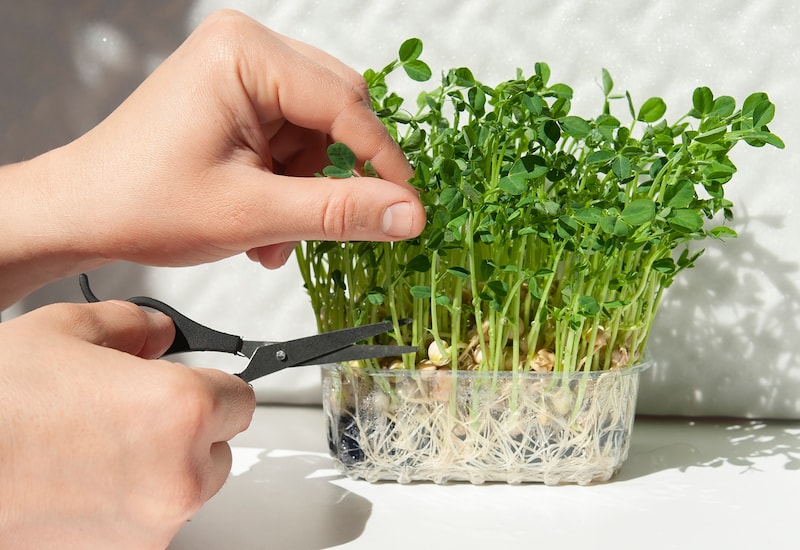
Image: Pea Shoots Seeds – ‘Anubis’ from Suttons
Although you don’t need specialist equipment to grow microgreens, it’s important to use suitable compost, explains John of Allotment & Gardens. He recommends multipurpose compost, as homemade is likely to contain troublesome fungal spores and weed seeds. He mixes his with perlite to create a light and porous growing medium. John also sterilises his seed trays, as the seedlings can be vulnerable to disease, particularly when densely sown.
Do you want to grow “astronaut food” with your kids? Growing microgreens is “the perfect mix of fun, science, education and nutrition to entertain and engage children,” says Lucy from Kids of the Wild. Her step-by-step guide is super-easy to follow and a sure-fire way to get little ones interested in both gardening and eating more healthily. Lucy recommends sowing the seeds quite thickly, as “they happily grow close together and aren’t in the compost long enough to compete for nutrients.”
Over at the popular YouTube channel Ivans Gardening Allotment UK, Ivan shares a simple but effective method for growing microgreens at home. He half-fills small plastic trays with sieved compost and thickly sows radish, cabbage, chicory and red cabbage seeds for a nutritious harvest that’s varied in both flavour and colour. “You have to over-seed so that all your little seedlings are planted densely,” he explains, before sieving a very fine layer of compost over them and covering the trays with clingfilm to help retain warmth and moisture, like “a miniature greenhouse”.
If you’re new to the world of windowsill gardening, head over to the Food Grower website for Chris Huskins’ top 10 tips for growing your own nutritious microgreens. This is a must-read for beginners and experienced growers alike who want to optimise their harvest. Among Chris’ recommendations is regular watering using a spray bottle, as this keeps the soil “moist but not waterlogged” and avoids disturbing the seeds. Read his full article for more excellent tips.
Catherine of Growing Family loves growing microgreens but, as they grow so quickly, says it can be easy to find yourself with more than you can use. She recommends sowing “small batches of seeds every week or so for a continuous supply that doesn’t overwhelm you.” If you’re not sure what to grow, check out her top 10 easy-to-grow microgreens. Catherine recommends radish, which is “perfect for adding a punchy flavour, and also nice and crunchy,” along with beetroot for its “lovely red stems and pretty leaves”.
With such a range of flavours, colours and textures it’s easy to see why microgreens are so popular, particularly if you’re short on time or don’t have space for larger crops. We hope our bloggers have inspired you to start your own windowsill garden – why not complement your indoor harvest with a few pots of tasty herbs?
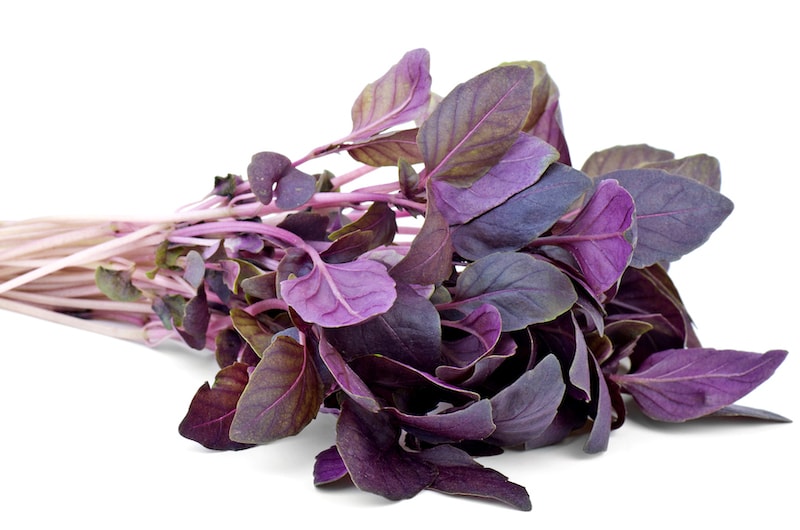
Lead image: Sprouting Seeds – Basil ‘Dark Opal’ from Suttons
Last Updated on February 11, 2025 by Suttons Horticultural Team


