Here are some expert planting tips that take a normal hanging basket to the next level. Whether you want to smarten up a rental property or lift a house front, bigger is always better when it comes to baskets. For maximum kerb appeal, be sure to add a range of different heights along with some trailing plants for a luxurious cascade.
Browse our huge selection of quality hanging basket plants before learning how to plant baskets like a pro…
What kind of soil should you use in hanging baskets?
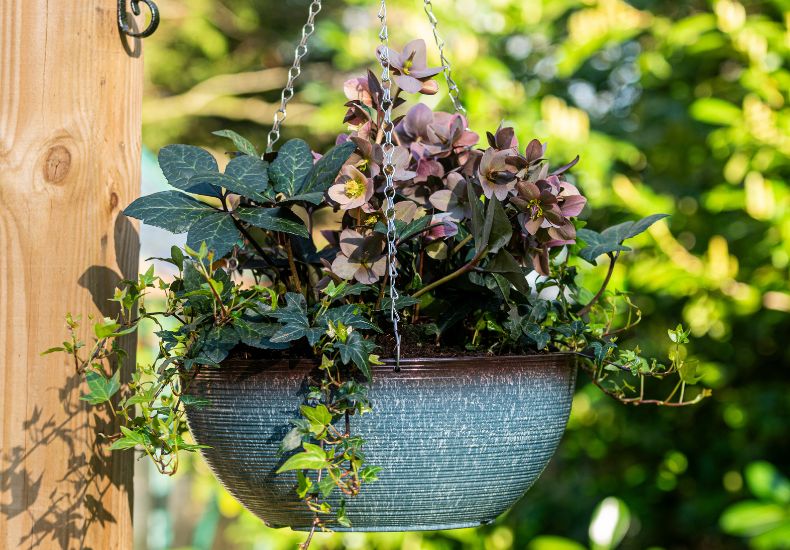
Good quality compost feeds your plants through the summer
Image: Blue Breeze Glazed Effect Hanging Basket from Suttons (©Branded Garden Products)
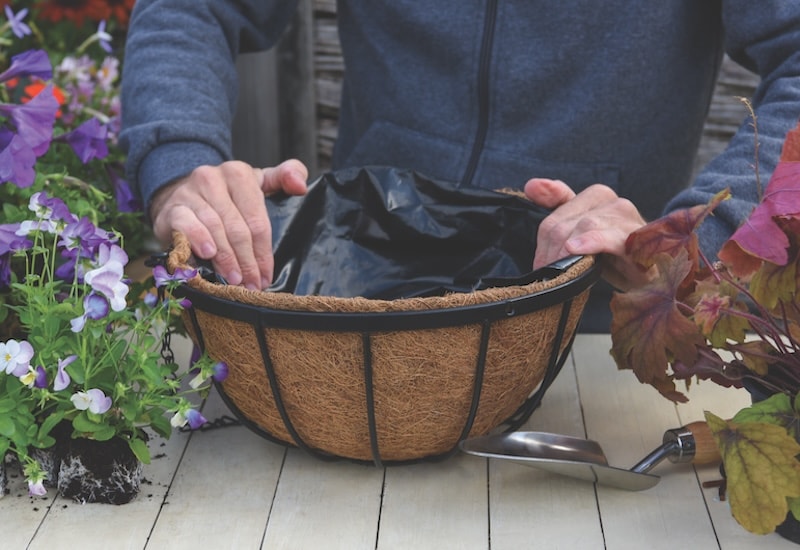
Your hanging display begins with the right hardware. There are lots of different types of baskets and liners from which to choose, and pros and cons to each. If you’re starting from scratch, our tips on how to choose the best hanging basket will get you off to a flying start.
To fill your baskets, go for a peat-free compost mix that’s rich with humus. Avoid soil-based compost mixes that will make the basket feel very heavy. Before you plant, add in a few handfuls of a granular general fertiliser to slowly release vital nutrients as your plants grow.
Moisture-retaining crystals are a great addition to your summer hanging basket soil mix. If you’re using a large basket that can hold 12+ plug plants, add two sachets of crystals to the mix. It’s best not to add crystals to a winter basket which typically receives more rain and can become waterlogged.
Mix the dry compost, granular fertiliser and moisture-retaining crystals using a trowel. Don’t water your soil mix until after you’ve planted up your basket and hung it, otherwise it can become very heavy. Water again an hour or two after the first watering to make sure the soil is fully saturated.
When should you plant hanging baskets
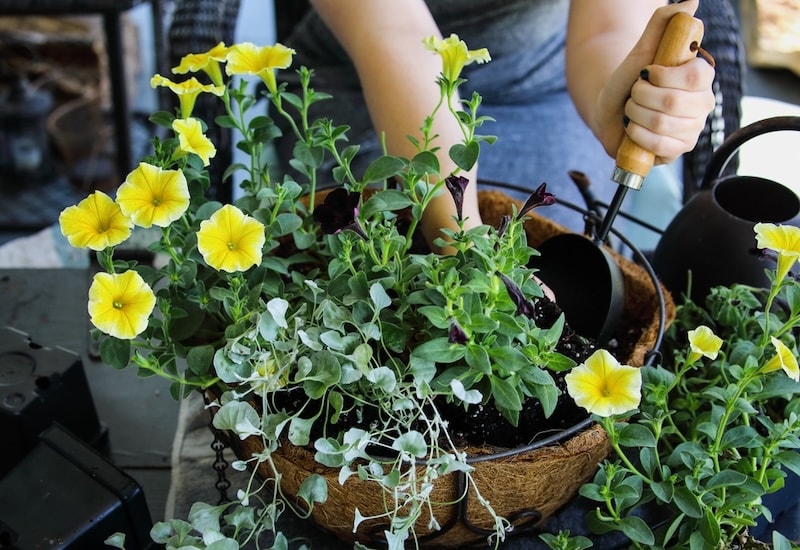
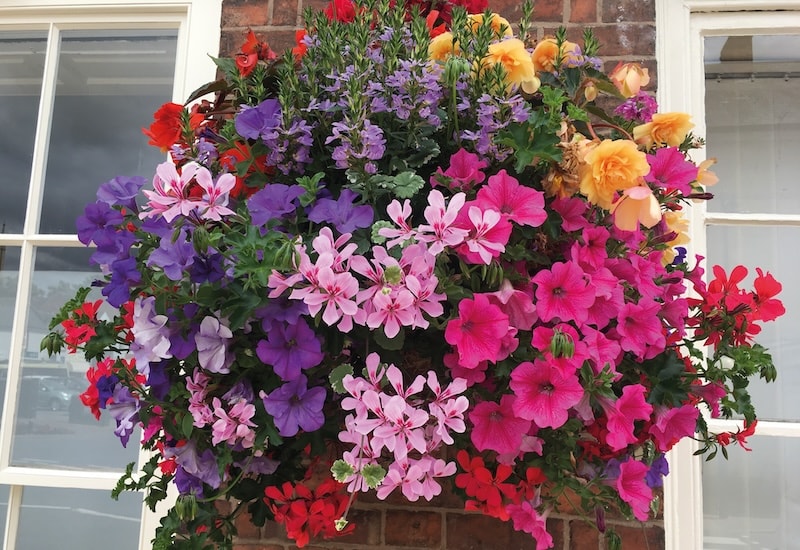
Mix and match colours and textures in your hanging basket display
Image: Stephanie Frey/Shutterstock
Plant your summer hanging basket from mid to late-spring. This gives the roots time to establish themselves in preparation for a surge of growth just as the weather starts to warm up. If you live in an area prone to late frosts, hang your freshly planted basket under cover in a greenhouse or conservatory until temperatures are warm enough for it to go outdoors.
For winter hanging baskets, start planting at the beginning of autumn. You can wait until your summer display starts to slow down and then empty and replant the same basket. Alternatively, invest in a second set of baskets and simply swap in your winter displays once your summer blooms come to a natural end. Read our article on creating winter hanging baskets for more specific advice.
How many plants should you put in a hanging basket?
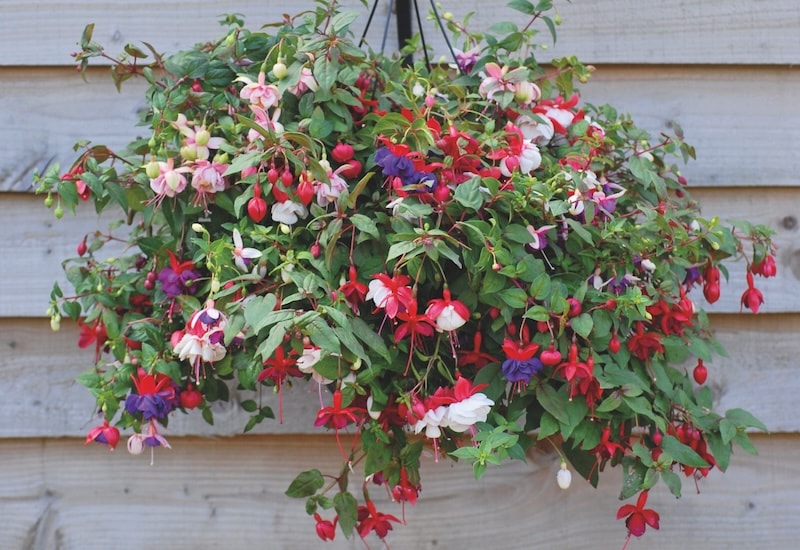
Getting the right amount of plants helps your basket look full and bold
Image: Fuchsia ‘Trailing Mixed’ from Suttons (©Thompson & Morgan)
Getting the optimum number of plants into your basket isn’t an exact science. If you have too few your display will look patchy and thin, while too many will require more water than you can keep up with.
If you’re planting up an easy-fill basket with 12 ‘doors’ around the side, aim to plant another 4 plugs in the top. With 16 plug plants in total, this type of basket blossoms into a huge ball of colour.
A more traditional ‘top-fill’ hanging basket measuring 30cm across will have space for up to 5 larger plants like petunias, geraniums and fuchsias. If you’re only planting smaller varieties like lobelia or trailing sweet peas, you’ll have space for about 10 plug plants.
If you need some help getting the right combination of plants, the ‘thriller, filler and spiller’ technique can help. For a normal 30cm basket make sure you have two ‘spillers’, three ‘fillers’ and then the rest as ‘thrillers’. Here are some examples of each:
- Thrillers. These are the show-stoppers with dazzling colour, eye-catching foliage and unique flower forms. Think electric coleus, tumbling tuberous begonias and bold-coloured geraniums.
- Fillers. Use fillers to round off the display and add softness. Think cloud-like blooms of aubretia, bacopia and lobelia. Heuchera is an excellent filler, as are block coloured petunias.
- Spillers. These are the visual anchor points for the display that give the basket weight. Trailing plants are perfect for this. Trailing surfinia petunias, ornamental ivy and super long nasturtiums all provide a lovely languid trail.
Alternatively, try planting up your basket using the new ‘pizza technique’ trend. Think of the toppings on your pizza and approach choosing your plants in a similar way. This will give you an even spread of a few different colours, unless you’re a one topping person, in which case you should fill your basket with one favourite variety.
Step-by-step video guide to planting hanging baskets
Hanging baskets are a fabulous addition to the garden
Image: Pre-Planted Hanging Basket Mix from Suttons
Just like any other plants, your basket needs to be hardened-off before being hung outdoors. You can skip this step if you’ve used garden ready plugs in your basket; otherwise, hang it in a sheltered spot and bring it out during the days for around two weeks before moving into its final position.
Turn your basket frequently to ensure all the plants receive plenty of sunlight and grow evenly. Do this weekly, unhooking the chain and turning it 180° before reattaching it to the bracket.
It’s also a good idea to feed your basket during the summer months. Use a balanced liquid feed every two weeks to give your flowers an extra boost. Make sure to evenly distribute the diluted feed around the compost in the basket so each plant can access the nutrients.
Water your display every day in the summer. If you do miss a few waterings, give your basket a soak by placing a bucket underneath and watering it a few times to properly rehydrate the potting mix. Re-use the water in the bucket to return any nutrients that leach out of the compost back to the plants. Try to water in the morning before the day gets really hot.
Plants like sweet peas send out more blooms if they’re deadheaded frequently. Removing spent flower heads focuses each plant’s energy on flowering, not seed production. Deadheading keeps your display looking fresh too. Use sharp snips and go over your basket every week. Pick up more tips to get show-worthy baskets at Suttons blog.
See our best expert advice on hanging baskets for more tips. And if you don’t have time to create your own basket from scratch then check out our horticultural team’s 4 favourite pre-planted hanging baskets. These quick and easy baskets can simply be hung wherever your garden needs a colourful boost.
Image: Hanging Basket & Liner from Suttons/©Thompson & Morgan
Last Updated on March 23, 2026 by Suttons Horticultural Team


