Kale is a hardy vegetable that’s easy to grow outside
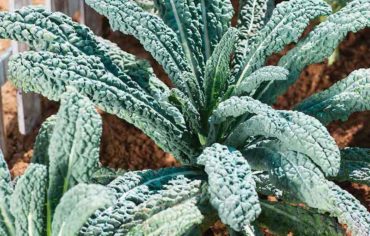
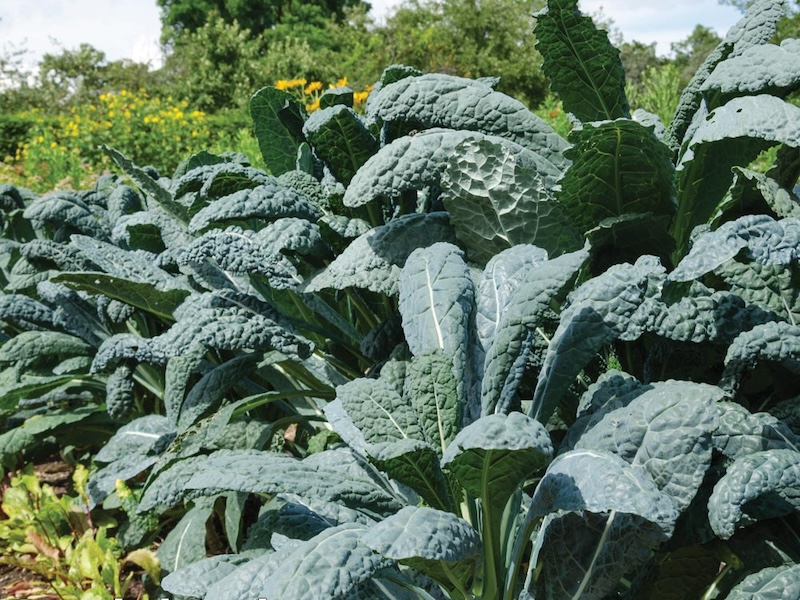
Image: Kale ‘Nero Di Toscano’ (Organic) from Suttons
Kale is a versatile, nutrient-packed vegetable that’s often called a superfood. This hardy brassica can be harvested as cut-and-come-again leaves almost all year round and, with a flavour that’s only improved by frost, can also keep you going through the ‘hungry gap’ when there’s little else in season. We asked experienced allotment grower Lee Senior for his advice on growing kale. Here are his top tips.
Browse our full range of kale seeds for inspiration.
Best kale varieties to try
There is such a diverse range of kale varieties that there really is something for everyone. Kale ‘Scarlet’ is my personal favourite – it both looks and tastes the part! This variety has attractive curly crimson/purple coloured leaves with a striking midrib that gives the plants an ornamental look. It also freezes well.
The Italian variety ‘Black Magic’ has dark green textured leaves and is ideal for growing as a ‘cut and come again’ crop. It has good tolerance to cold weather and a good resistance to bolting. With a long harvest period, it will keep cropping from early September through to the end of February.
If you’re short on space, Kale ‘Dwarf Green Curled’ is the variety to go for as it’s compact in stature. This plant will cope with just about anything that winter throws at it and crops reliably from October until the end of March. I like to steam it for use as a nutritional winter veg. In short, this plant is a real toughie!
Finally, for something a little different, why not try the gourmet variety ‘Buttonhole Starmaker’? This kale is like no other, with stunningly attractive pink veins. The plants resemble ornamental cabbages at first glance, though ‘Buttonhole Starmaker’ is completely edible and its mild, sweet flavour works well in stir-fries. If you don’t have a huge veg patch or allotment, this variety doesn’t look out of place in an ornamental flower bed!
How and when to sow kale seeds
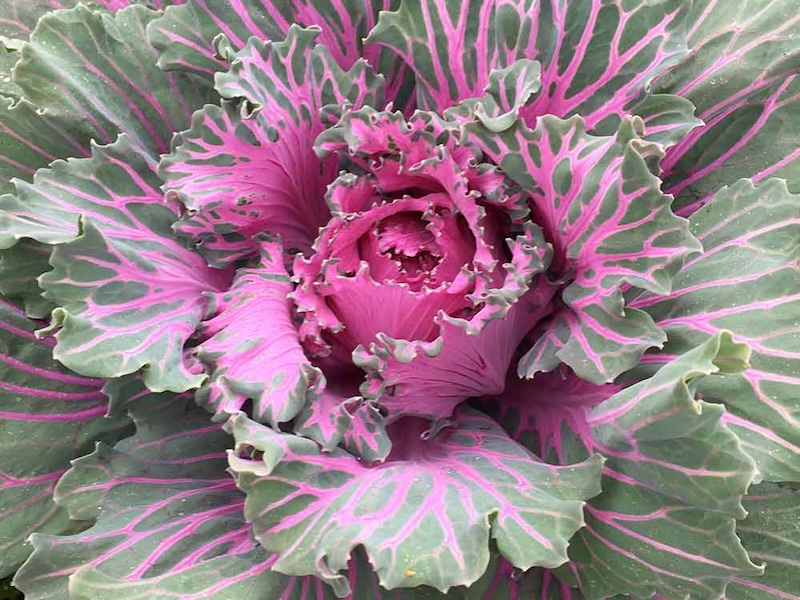
This attractive pink veined variety is sweet and tender
Image: Kale ‘Buttonhole Starmaker’ seeds from Suttons
Kale seeds are easy to germinate and don’t require any special conditions. Temperatures of 15C-18C (59F-64F) are ideal. It takes around 28 weeks to reach full maturity, so it does need quite a long growing season.
I tend to make two sowings. The first is during mid-March when I sow the seed in gentle heat under glass. I use small pots containing proprietary compost, lightly covering the seed and removing the weaker seedlings. Transplant the seedlings at the 5 or 6 leaf stage after hardening them off. The young leaves will be ready for a mini harvest from around August onwards.
I also make a further sowing during late May or very early June. This time the seeds are direct sown outdoors into a finely-raked and specially prepared seedbed. I use proprietary compost to line the seed drills and sow the seed very shallowly at 13mm (0.5 inch) deep. The seedbed should be kept moist until germination, which takes about 5-7 days. The young plants can be transplanted into their final positions at the 4 or 5 leaf stage. This is my main winter crop to supplement the earlier sowing.
Where to grow kale
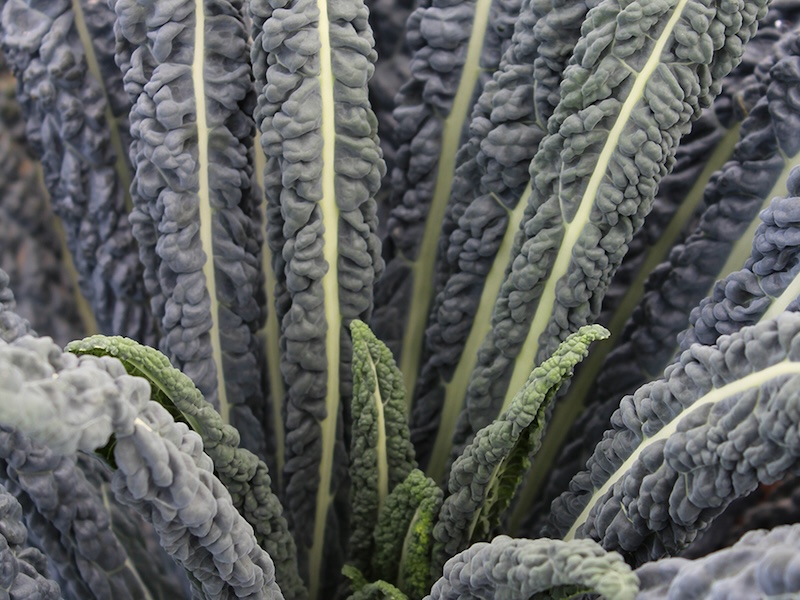
This exceptionally tender black kale can be harvested as a cut-and-come-again crop
Image: Kale ‘Cobra’ F1 seeds from Suttons
A useful property of kale is that it will tolerate semi-shade as well as sunnier parts of your allotment or veg plot. It isn’t too fussy about location, but it’s best to avoid windy or exposed locations.
It performs best in well-drained soils that contain plenty of well-rotted organic matter. However, kale will also tolerate poorer soils, although the resultant plants will not be as tall or crop quite so profusely.
When it comes to planting out, bear in mind that your plants need plenty of space to develop to their full potential. Discard any weaker transplants as you won’t need too many plants at any one time. I space my plants roughly 50cms (20 inch) apart. However on smaller plots, you can get away with slightly closer spacings.
I think that curly kale looks really attractive with frost on it. You might consider growing some in a visible location near a path or building, or even as a focal point in a bed or in a container.
How to look after kale
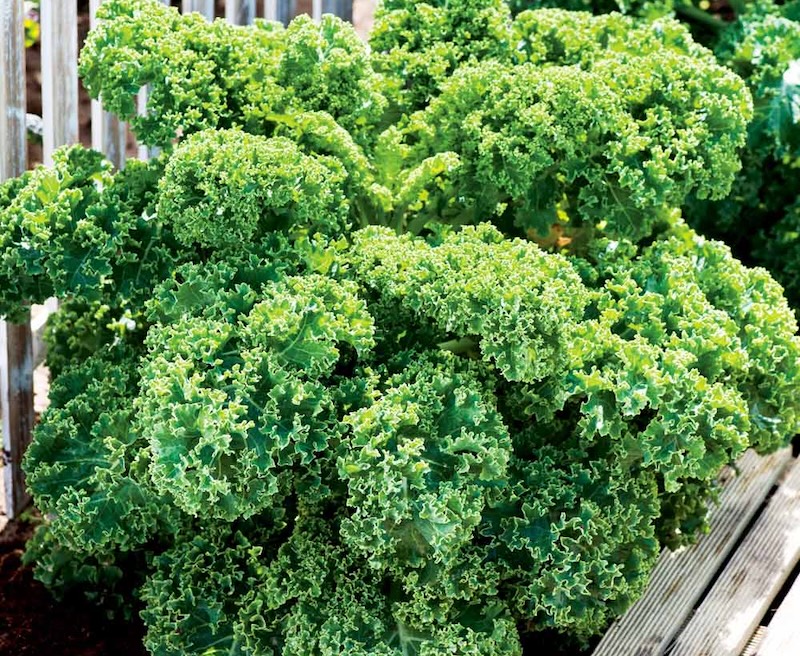
This dwarf variety has attractive, dark, tightly frilled leaves that are exceptionally hardy
Image: Kale ‘Dwarf Green Curled’ – Seeds from Suttons
Firm your young plants into the ground really well when planting them out into their final growing positions. Many varieties can reach a height of over 90cms (3ft) so, in windier locations, you may need to stake them with a bamboo cane to prevent them from leaning or falling over. Dwarf varieties are a little shorter than this and are suitable for growing in large containers.
Water your young transplants well during dry weather.
Kale is part of the brassica clan and is one of the hardiest winter plants around. Therefore it doesn’t need any protection, even from the most severe frosts. However you may need to protect the plants from cabbage white butterflies and pigeons by covering them with fine netting.
Kale is a fairly slow-growing plant which takes about 24 weeks to begin cropping and around 28 weeks to reach maturity. This is something to bear in mind when you’re planning your crop rotation. The land will become available from around mid-March when you finally dig the plants up.
Avoiding common problems
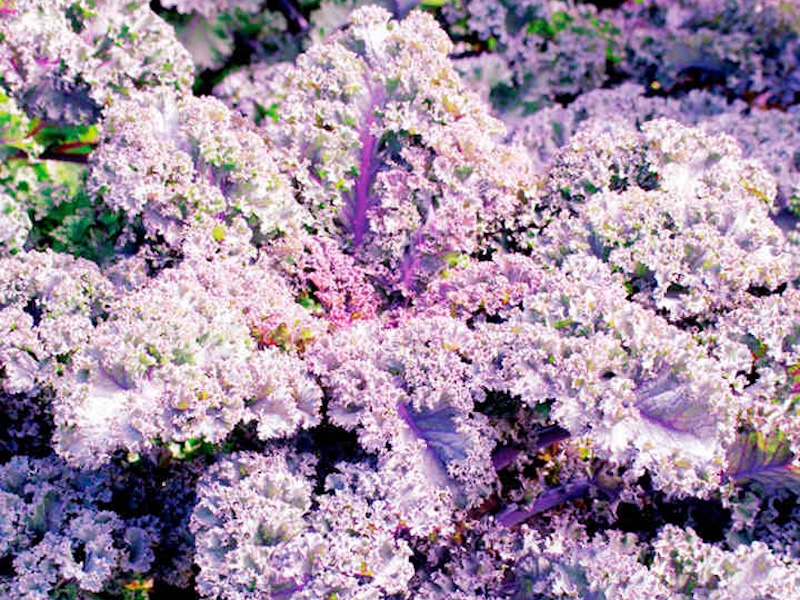
The deeply curled purple leaves of ‘Scarlet’ are rich in vitamins A & C
Image: Kale ‘Scarlet’ Seeds from Suttons
Cabbage white butterflies are the number one pest in mid-late summer. The adults hone in on all brassicas and attempt to lay eggs that will eventually hatch into those voracious caterpillars that we all know so well!
Cover with anti-butterfly netting on hoops or a cage to prevent the adult laying its eggs. Alternatively use the finger and thumb method to gather and move, or destroy, the tiny caterpillars as they emerge. This method works well if you’re not too squeamish and if you can check the plants very regularly.
Pigeons also have a penchant for all brassicas. They will eat the leaves, leaving just skeletal remains. Protect the plants from this aerial attack by covering with netting. Affected plants can recover but subsequent growth and vigour will be stunted.
Clubroot is a fungal soil borne disease that affects brassicas. Try to choose a resistant variety if your soil contains the fungus and also aim to keep the PH on the slightly alkaline side.
Finally, cabbage root flies are a pest that lay their eggs at the base of the young transplants of all brassicas. The resultant flies nibble through the roots, causing the plants to wilt severely and become stunted and useless. Protect your plants with discs that fit snugly around the stem to prevent the eggs being laid.
When to harvest kale
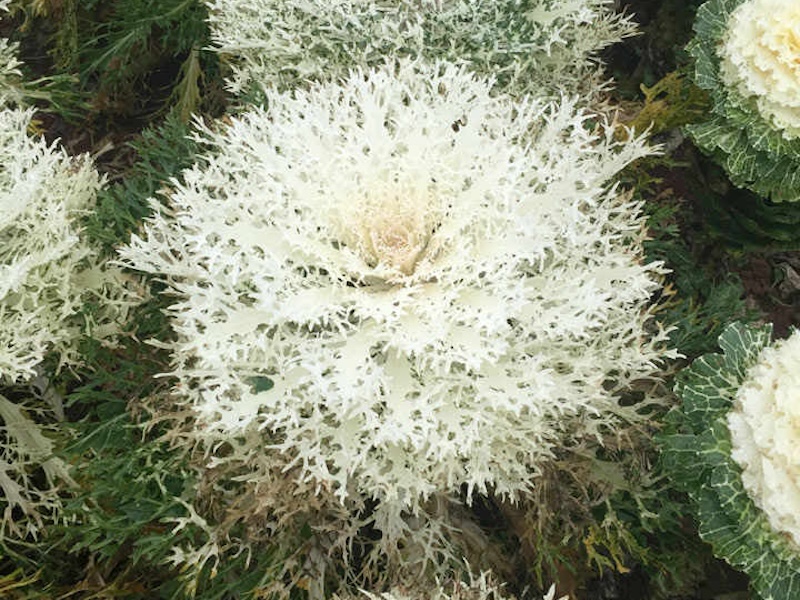
These tasty, white and green leaves can be grown in a veg patch or decorative border
Image: Kale (Borecole) F1 ‘Peacock White’ Seeds from Suttons
It’s realistically possible to harvest kale from late August through to the end of March, giving a cropping span of around seven months. That’s what I call good value! Don’t forget that you can also use your young kale thinnings in salads rather than simply discarding them.
Kale can be treated as a ‘cut and come again’ crop, a tactic I employ regularly. It’s best to grow a greater number of plants if you intend to do this, so you don’t over rely on the same plants and weaken them. Taking just a couple of leaves from each plant every now and again doesn’t unduly stress them. Healthy plants will soon grow new replacement leaves. In good seasons, I start taking a few young leaves from August onwards and then leave the plants to recover for a few weeks before repeating throughout Autumn.
To harvest kale, simply snap the leaves close to the main stem. They should detach quite easily and cleanly.
Finally, for something very different, why not grow kale on the windowsill? Tiny, young kale seedlings grow well on the windowsill during the winter months as a healthy, quick growing microgreen snack. The seeds germinate within a couple of days in a shallow seed tray where they can be grown on with no transplanting necessary. Keep the tray damp and avoid strong sunlight. Harvest the seedlings with a pair of scissors within 7-21 days.
Kale is a healthy, ornamental crop that provides a steady supply of leaves almost all year round. Steamed, stir-fried, added to salads, blitzed into pesto, baked into crisps or added to smoothies – it’s a must-have crop for any garden. For more of Lee’s practical, hands-on, vegetable growing tips, head over to his monthly allotment pages.
Last Updated on December 11, 2024 by Suttons Horticultural Team


