Here’s our ultimate guide to growing your own potatoes. An easy, low maintenance crop, home grown spuds are nutritious, highly versatile and provide a far superior flavour to anything you can buy in a shop. Whether you want a tender harvest of new potatoes early in the summer, or a large haul of maincrops for baked potatoes and warming winter stews later in the year, we’ve got you covered. Here’s how to choose the best seed potatoes for your space, along with planting, harvesting and storage advice.
What does chitting seed potatoes mean?
Once you’ve chosen a few varieties and taken delivery of your seed potatoes, you’ll need to ‘chit’ them. Chitting your seed potatoes means encouraging them to start developing shoots before they’re planted out, reducing the time between planting and harvesting your first crop.
Start chitting your seed potatoes a few weeks before you want to plant them out, allowing plenty of time for the shoots to appear. Plant the potatoes before the chits grow more than a couple of inches long to reduce the risk of damage when handling and planting the tubers.
How to chit your seed potatoes
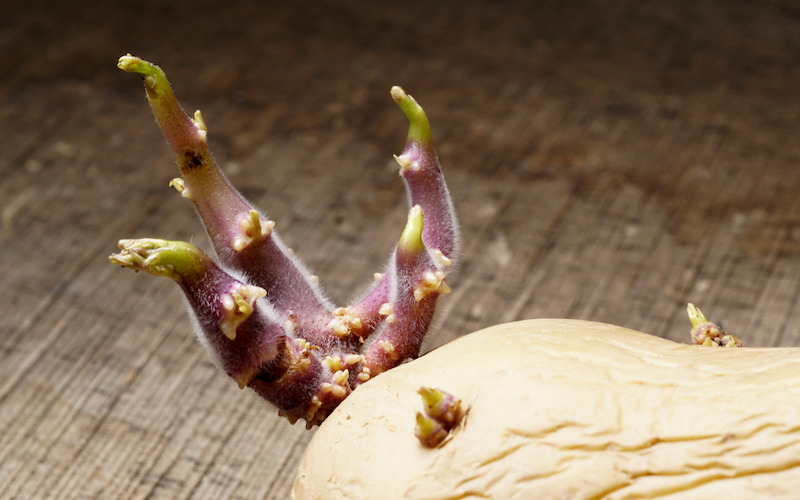
Image: Iskra Antova/Shutterstock
Place your seed potatoes in a cool, well lit place where there’s no risk of frost. A temperature of 7˚C (45˚F) is ideal. Place tubers so that the rose end (where you will see the most buds or ‘eyes’) faces uppermost – an egg tray is perfect for this. Short, stocky dark green shoots will form within a few weeks.
The first and largest chits to form are known as primaries, and these are the most important. Some people like to remove some of the smaller secondary chits before planting. This usually means that you’ll get fewer, but larger, tubers – worth trying if you’re after some hefty baking potatoes!
Planting well-chitted seed potatoes is of the greatest advantage with early varieties, when it can speed up growth by as much as three weeks. With maincrops, chitting is less critical, but still advisable, as it helps crops mature in the summer before poor weather sets in and slug damage increases.
What’s the best soil for growing potatoes?
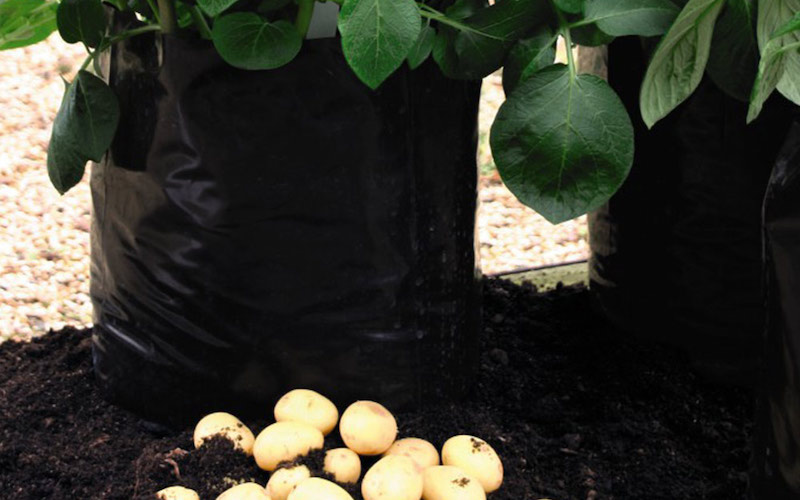
Image: Potato growing bag from Suttons
Seed potatoes will grow well in most soil types, although they prefer rich, fertile, well-cultivated soils with good drainage. Ideally your soil pH should be just on the acid side of neutral. If you regularly lime your soil to correct the acidity, stop before you plant your potatoes to prevent the risk of scab. And don’t use ground where potatoes have been grown within the last three years, to avoid any diseases that may be harbouring. Don’t worry if you don’t have a large vegetable patch, or your soil isn’t suitable. You can easily grow potatoes in pots and containers instead.
Prepare your potato beds the preceding autumn by adding a generous amount of well-rotted manure or compost. This gives the soil plenty of time to be broken down by repeated winter frosts and for the manure to release nutrients, improving the general structure of the bed. In spring, after the last frost, break down any large clods of soil to create a fine tilth. Incorporate a fertiliser rich in potash just before planting.
When to plant your seed potatoes
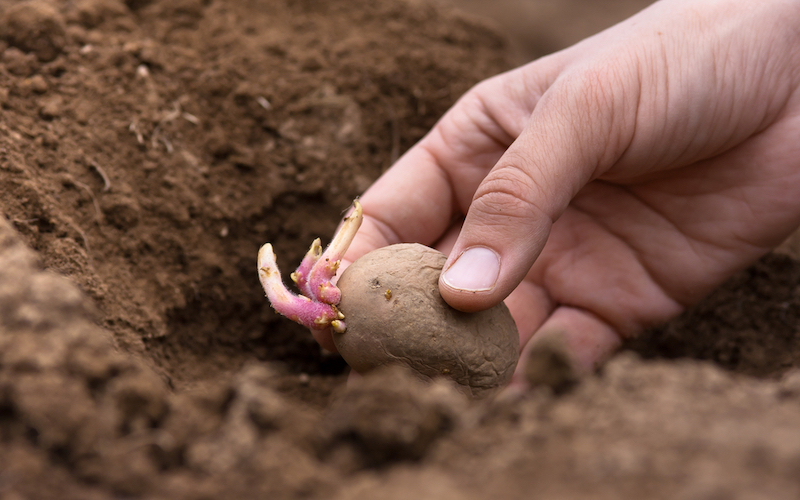
Image: rodimov/Shutterstock
Plant first early seed potatoes and second early varieties anytime from around mid-March, and even a little sooner in the mildest regions. Your maincrop seed potatoes can be planted from early April.
Don’t be tempted to plant your tubers too soon if the conditions aren’t favourable. Tubers that are planted later into moist, slightly warmer soil (minimum 7˚C, 45˚F) will invariably overtake any tubers that were planted earlier in the year in colder conditions.
How to plant your seed potatoes in the ground
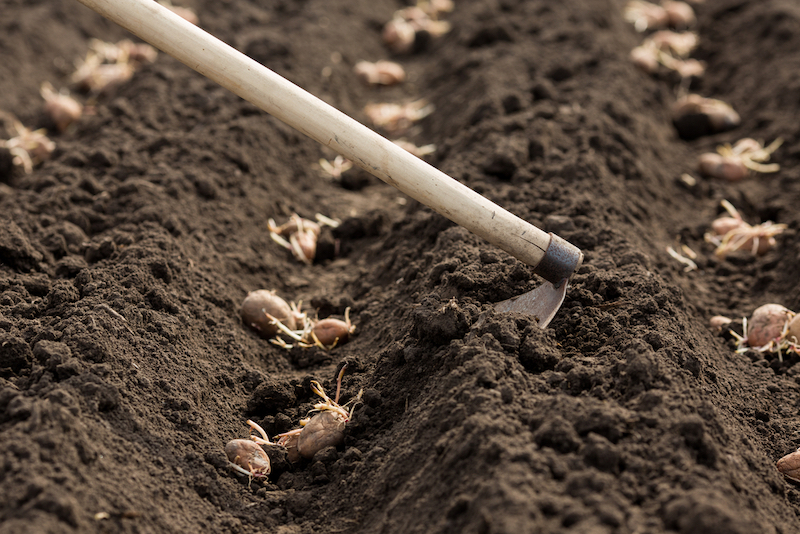
Image: Photos box/Shutterstock
Draw out shallow trenches 10-15cm (4-6in) deep in rows 60cm (24in) apart. Plant your seed potatoes about 38cm (15in) apart, although early varieties can be planted slightly closer, at about 30cm intervals, as they need less growing space.
Cover your seed potatoes with soil using a rake or hoe, forming a low ridge over the submerged tubers. Water your rows well with a rosette setting to avoid displacing too much soil.
How to care for your potatoes
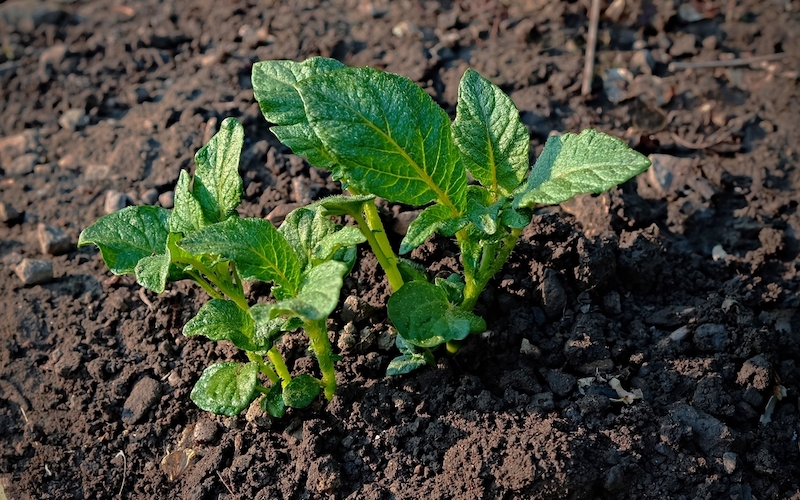
Image: Ivan Rusek/Shutterstock
Expect to see the first shoots emerging from your rows of planted potatoes after three to four weeks, maybe even slightly sooner in warmer soil. When shoots appear, ridge up the rows with more soil to gently cover the growing tips. You may need to repeat this process several times with maincrop varieties. This prevents any shallow tubers from coming into contact with sunlight and turning green. Ridging up your developing potatoes will also offer some protection against unexpected late frosts. If late frost is forecast, make sure you cover your potatoes with horticultural fleece to prevent foliage damage.
The developing crop needs plenty of moisture. Keep an eye on the soil moisture levels, especially in periods of very dry weather. This is particularly important when the first tubers are forming underground – for earlies this is about five-to-six weeks after planting and a week or so later for maincrops. Water your crop in the early morning or late evening to minimise water loss through evaporation.
When to harvest first early and second early potatoes
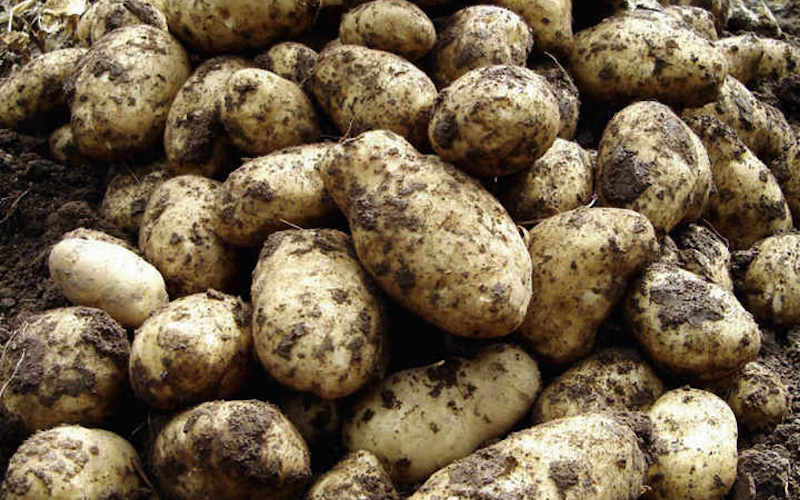
Image: Potato ‘Arran Pilot’ from Suttons
First early potatoes should be ready to lift between 8 and 12 weeks after planting. This depends on the seasonal conditions and the potato variety. It’s often said that earlies are ready to be dug once flowers start to appear. In reality, because flowering time and frequency can vary, it’s best to dig one up and see! Only lift what you need for each meal and eat your first earlies straight away – they’re at their absolute best on the day they’re harvested.
Second early potatoes should be ready to harvest a few weeks after the first earlies. They’re good to eat straight away but they can be stored for later use. Clear away all the top growth and gently lift them with a fork as required.
When to harvest maincrop potatoes
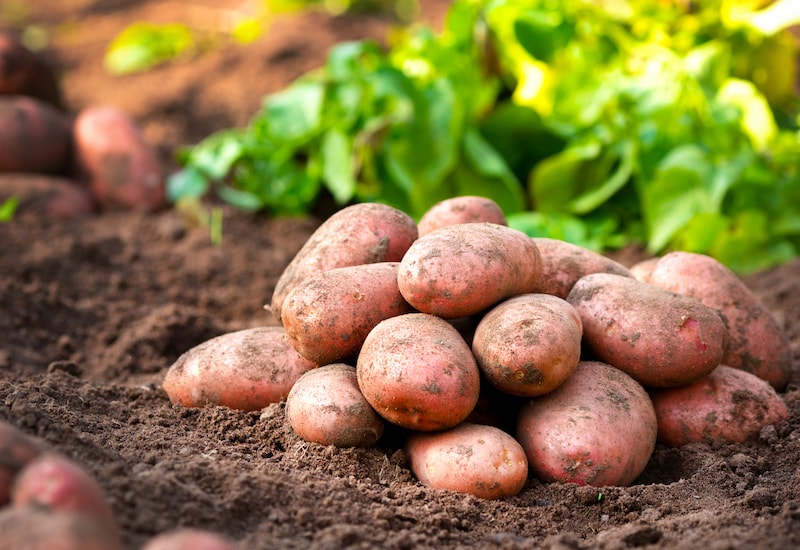
Image: Potato ‘Desiree’ from Suttons
You’ll know your maincrop potatoes are ready for lifting when the foliage (haulm) starts to die back naturally in early autumn. If the foliage is still green in October, remove it to encourage the skins to set on any immature tubers. Choose a bright, dry day before the end of October to lift your crop. This makes it easier to dry the tubers out in the sun for a few hours before they’re stored. If this isn’t possible, spread your potatoes out in trays and allow them to dry thoroughly indoors before you store them away. It’s important to only store potatoes that are in excellent condition with firm, set skins.
At the end of the growing season, check your empty beds for ‘groundskeepers’ – small potatoes missed during the harvest. Removing these prevents diseases being carried forward to next year’s crop and stops them becoming a randomly sprouting nuisance in spring.
How to store home grown potatoes
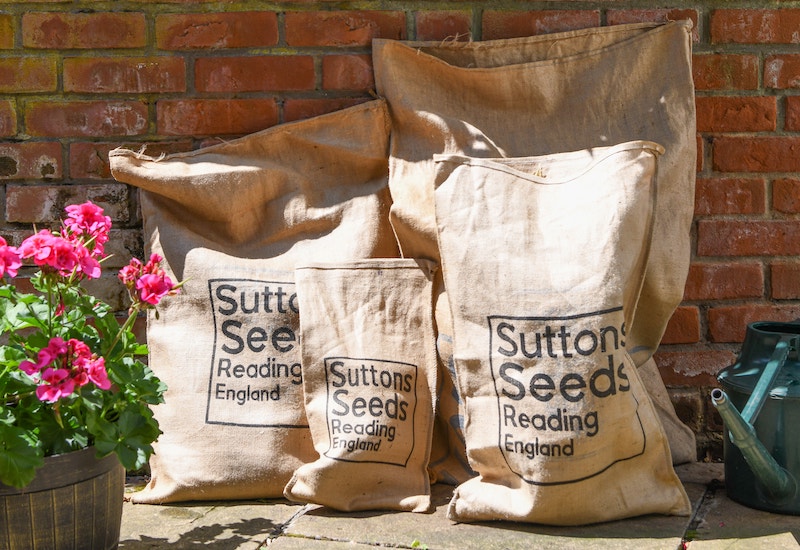
Image: Suttons Seeds Vintage Potato Sacks (© T&M)
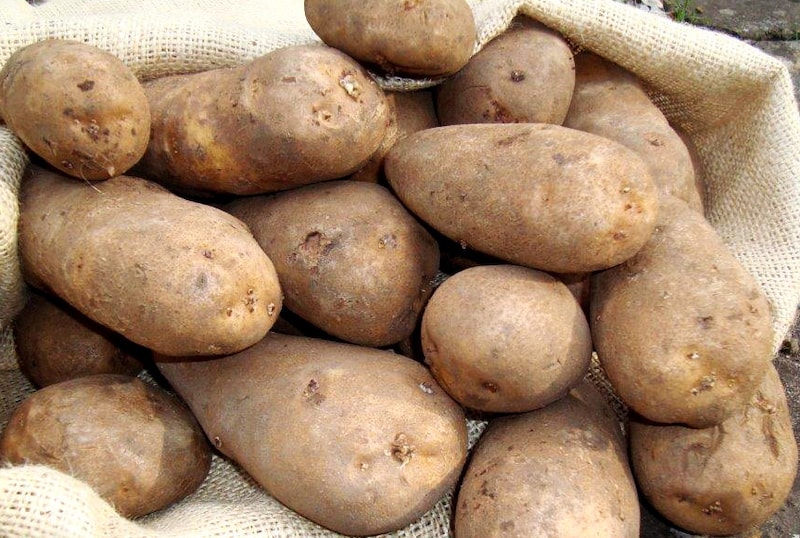
To store your potatoes for use throughout the autumn and winter, sort through and discard any that are damaged or diseased. Clean the tubers with a gentle brush to remove soil, and store in breathable paper or hessian sacks. The sacks should be thick enough to exclude light and prevent your stored tubers turning green. Don’t keep potatoes in polythene (plastic) bags, as they will sweat and turn mouldy.
Store your potatoes in a cool, dark place. Inspect them regularly as rot can spread quickly. Properly stored potatoes will keep until spring.
We hope you’ve enjoyed our tips for growing your own potatoes in the ground. But remember that many varieties will grow just as well in pots and containers too. And if you can’t wait for the arrival of new potatoes each year, read our guide to the best new potatoes to grow at home.
If you’re looking for more of a visual guide on how to grow your own potatoes, watch our informative ‘How to Grow Your Own Potatoes’ video below.
Lead image: Potato Organic Golden Wonder from Suttons
Last Updated on January 12, 2026 by Suttons Horticultural Team


When should l plant and harvest the fingerling seed potatoes I have bought from Suttons and should I follow the instructions as per the other varieties?