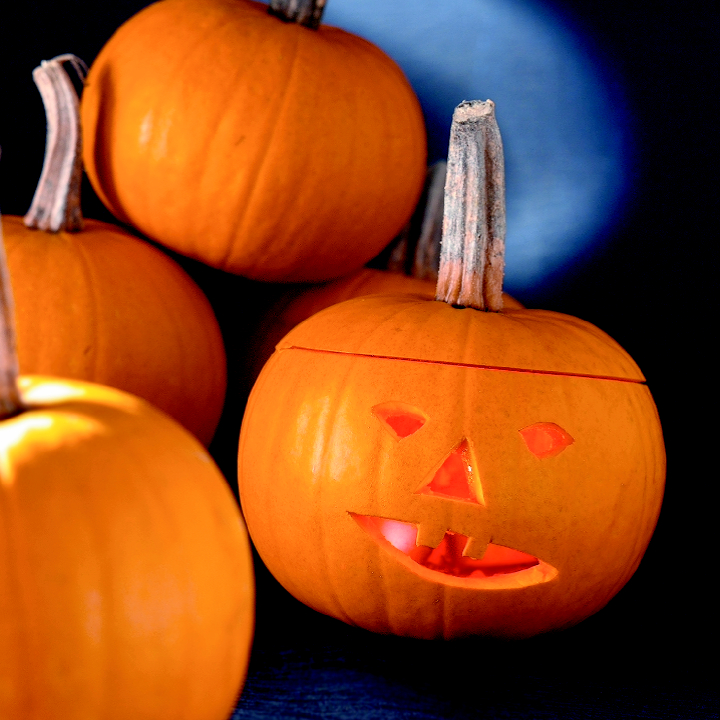
“It’s close to midnight, and something evil’s lurking in the dark…” Or at least it could be, with your very own hand carved Jack O’ Lantern to make this Halloween a real thriller!
So whether your pumpkin is home grown or bought from the supermarket, here are our top pumpkin carving tips to help you create the most ghoulish, terrifying, creepy lantern.
1. Picking Your Pumpkin
The size of the pumpkin you need will depend on the design you choose. The larger the pumpkin, the more intricate you will be able to make the design and the more elements you will be able to include. A pumpkin with smooth sides will be easier to carve and allow for much more precision if you’re incorporating a lot of curved lines into your design. One that is taller than it is wide is perfect for faces as resembles the shape of a head. For added interest, and to make your lantern a true ugly illuminated beast, choose a pumpkin with deep ridges and wrinkles in the skin. But beware, as these will be a lot harder to carve with precision.
2. Prepping the Pumpkin
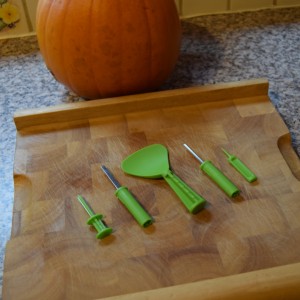
For the best results it’s important to use the right tools. Avoid using a straight edged knife if possible and resist the urge to reach for that Michael Myers like cleaving knife. Not only are flat edge blades harder to control, but they also require more force to cut through the pumpkin which will increase the chances of making a mistake. A serrated blade like a bread knife is perfect for carving a pumpkin, or alternatively a carving kit complete with tiny saws, poking tools and a scraper are available from most supermarkets for as little as a pound.
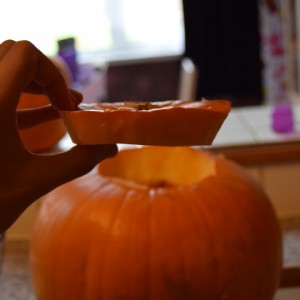
Mark out a circle on the top of the pumpkin around the stem large enough to fit your hand in. The pumpkin is tougher and woodier at the top so rather than using the smaller saws that come in the carving kit, I prefer at this stage to use a serrated kitchen knife to cut around the circle. When cutting the top, angle the blade inwards towards the centre, this will ensure that the top is a plug like shape that will fit snuggly back into the pumpkin without falling straight through. Once the lid has been removed, cut a slice from the underside to get rid of any of the filling that is attached.
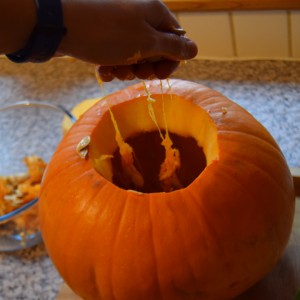
Now comes the messy part and the bit kids are bound to love; removing the wet slimy innards. This can be done with a large spoon, an ice cream scoop or if you’re in the Halloween spirit, play the part of a mad scientist dissecting their victim and use your hands.
Once all of the seeds and strands of the pumpkin have been removed, scrape the inside as clean as you can, this will allow for more light to shine through and for your lantern to take on an even more eerie and spooky glow.
TIP: Don’t throw the pumpkin flesh away. Keep it in a bowl and use it to make these delicious recipes.
3. Choosing Your Design
There are a couple of methods to choose from when deciding on your design and how to mark your pumpkin ready for carving. The first is to create your own design and hand draw it directly on to the pumpkin. This is best done with a dry erase marker, the type used on whiteboards, and then any mistakes or marks left behind after carving can be easily cleaned off with a wet paper towel.
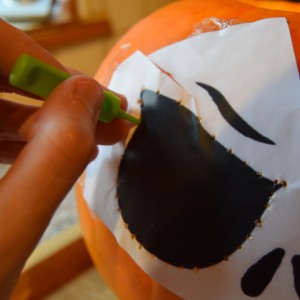
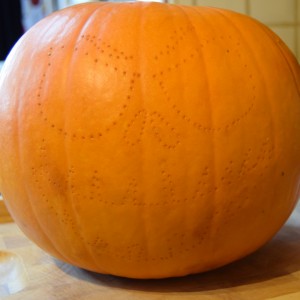
The other option is to use a template. This can be your own design that you’ve drawn onto paper, or a quick search on the internet will provide you with a collection of templates, ranging from classic jack o’ lantern designs to more contemporary characters, that are free to download and print and can be stuck to your pumpkin as a guide. Cut away the excess paper from around the design and tape it to your pumpkin. You can cut slits or crease the template to ensure that you can tape it as tightly as possible around the curved surface. Using the poking tool that came with the carving kit, or a pin, poke holes along the lines of your template into the pumpkin. Once you have been all the way around the template, remove it and you’ll be left with a dotted outline of your design.
4. Carving Your Lantern
If you used the poking method it’s now time to play a game of dot-to-dot. Using a smaller serrated knife, or the saw from a carving kit, follow the lines of your design, cutting with a gentle back and forth sawing motion. Take your time your time and try to make the cuts as clean as possible, keeping the blade angled towards the centre of the pumpkin. This will allow for more of the flesh to be removed and for more light to be let out. I find it best to start with the smaller sections at the centre of the design such as the nostrils and eyes before moving onto the larger section. This will keep the pumpkin rigid and make it easier to cut out the smaller pieces. Also try to avoid the temptation of pushing out the cut out sections once they are done. This will also help to keep the pumpkin firm when cutting out the other sections. For curved lines, gradually turn the handle of your saw and with the sawing motion you’ll find that you have greater control over the blade. For areas such as teeth that have sharper acute angles, remove the saw and reinsert at the new angle to continue. Don’t twist the blade as this may cause it to snap. Once all the shapes have be cut, it’s time to push them out. Depending on the angle of the cut you may find that some pieces need to be pushed out while others may need to be pushed in.
5. Preserving the Pumpkin
Now that your pumpkin has been transformed into a terrifying Jack O’ Lantern, beware of the one thing that can still send your pumpkin running for the hills; the fear of dehydration and drying out. To help lock in moisture, add a thin layer of Vaseline to the cut surfaces. This can be applied with your fingers on the larger areas or with a cotton bud on the trickier smaller to reach areas. If your lantern is being prepared in advance, then wrapping it tightly in cling film and storing in the fridge will keep it fresh. If, however, you do find that your pumpkin is drying out and shrivelling, soaking it in a bucket of water for a couple of hours can resurrect your lantern ready to scare another day.
6. Lighting up Your Lantern
The most traditional way to bring your lantern to life is with a candle or tea light. Always be careful if using candles and it’s always best to place them inside a high-sided glass to keep them safe and protect the flame from any gusts of wind if being placed outside. Battery operated electronic candles are a good alternative, or you could use fairy lights wrapped around a jar and experiment with different colours to see what the effects are. Once lit up, put the lid back on top and place your lantern in the desired position ready to give your Halloween visitors a fright.
If you have made you own Jack O’ Lantern we’d love to see it. Post a picture on our Facebook page or tag us on Twitter and Instagram using #SuttonsLanterns
Last Updated on October 15, 2024 by Suttons Horticultural Team

