A well-managed asparagus bed should remain productive for two decades or longer, and therefore it pays to choose your spot carefully and prepare the ground well before planting. We asked experienced allotment grower, Lee Senior, for his top tips on growing this delicious vegetable. Here’s his tried and tested advice.
Browse our full range of asparagus crowns for inspiration.
Choosing the best asparagus variety to grow
Most of us will only have space in our gardens or allotments for one or two varieties of asparagus at the most. It’s therefore sensible to choose the best variety for our needs, especially given that asparagus plants can last up to 20 years! If you want to spread the cropping period, perhaps combine an earlier and a later variety to extend the season. Early varieties start cropping in April while late varieties are at their best in June.
I always chose male varieties of asparagus as, interestingly, they tend to produce higher yields. Male varieties don’t produce berries and therefore the plants’ energy is channelled into spear production. Female varieties tend to have slightly thinner spears as some of their energy is used to produce seeds.
Asparagus can be grown from dormant one year old crowns (purchased bare rooted) or from seed. I’ve had success with both, but I must admit I find growing them from seed a little more fun!
The benefits of asparagus crowns
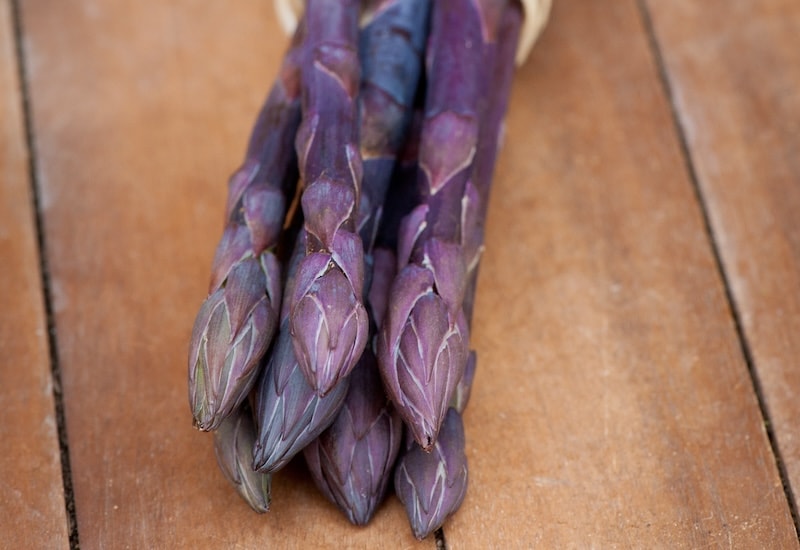
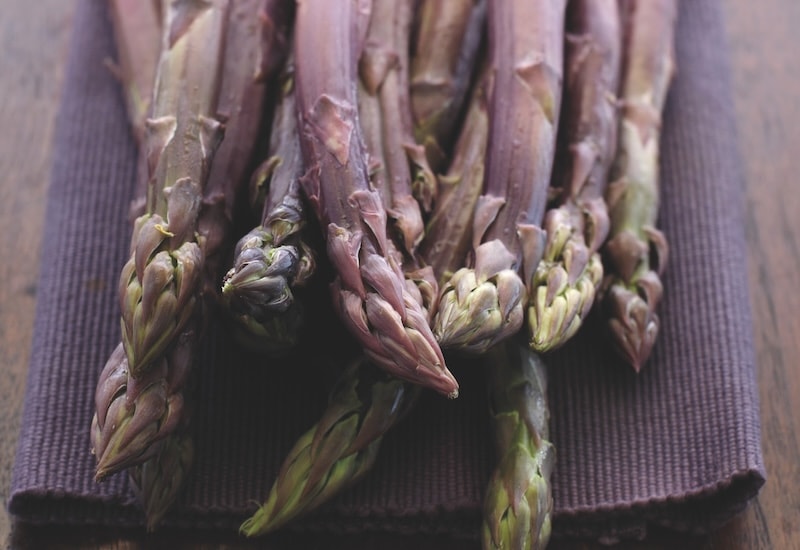
This stringless purple variety is sweet and tender
Image: Asparagus officinalis ‘Pacific Purple’ from Suttons
If growing from crowns is your preferred method, you’ll find that you have a far greater choice. The all-male variety ‘Gijnlim’ produces early crops of high yielding, deliciously-flavoured spears. Meanwhile, another male variety ‘Backlim’ produces thick green and white coloured spears. This RHS Award of Garden Merit winner is popular with commercial growers. The foliage is compact and dies back naturally in early autumn.
For a slightly later season harvest, the male variety, ‘Guelph Millennium’ is ideal. It was bred in Canada and thus tolerates colder conditions than other varieties, making it suitable for the north of England. Finally, for something a little different, I particularly like the variety ‘Pacific Purple’ with its sweeter tasting purple spears which are white if the plants are earthed up. The spears are stringless when compared with other types. If you want to retain the purple colour, it’s better to steam or eat the spears raw.
For a good range of different varieties the Suttons ‘Continuity Collection’ offers crowns of three different all-male varieties that will crop from April through to mid-June.
Your decision on whether to buy crowns or grow from seed will largely be based on how much you would like to pay and also how much time and greenhouse space you have available. Why not try both and compare?
Growing asparagus from seeds
These long slender spears are easy to grow from cost-efficient seeds
Image: Asparagus seeds ‘F1 Ariane’ from Suttons
A reliable asparagus variety to start from seed is ‘F1 Ariane’. The seeds germinate fairly easily, if a little slowly. A very light crop is possible in the second year but the spears will be thicker from year 3 onwards. Here’s how to sow asparagus seeds:
- Sow asparagus seed in a tray of multi-purpose or seed compost at temperatures of 18-20C.
- Sow in late winter in a propagator or use a warm windowsill for an early start.
- A cold greenhouse is ideal for an April or May sowing.
- Although hardy, it’s a good idea to protect the seeds from severe frosts, using fleece for the first weeks.
- Thin out when large enough to handle and transplant into bigger pots when the seedlings become pot bound.
- The main thing to be aware of is the flimsiness of the young seedlings. They can also be slow to grow in the early stages, but if given heat from the warming sun, they will steadily start to develop.
- Grow on in pots and plant out in spring of year 2.
Where to grow asparagus
This all male variety produces particularly high yields
Image: Asparagus ‘Gijnlim’ (Spring Planting) from Suttons
Choose an open, sunny spot in which to grow asparagus, but avoid very exposed positions and frost pockets. It will grow in most deep, well-drained and reasonably fertile soils, but a slightly alkaline soil is preferable (with a pH value of 6.5 to 7.5.) This can be easily checked using a soil test kit or pH meter. Don’t plant a new asparagus bed where a crop has been grown previously.
Once established, your asparagus bed should remain productive for several decades. Because of this, it really pays to think about where you want to grow your spears. I always give the location plenty of thought as established asparagus plants don’t transplant very well.
How to prepare an asparagus bed
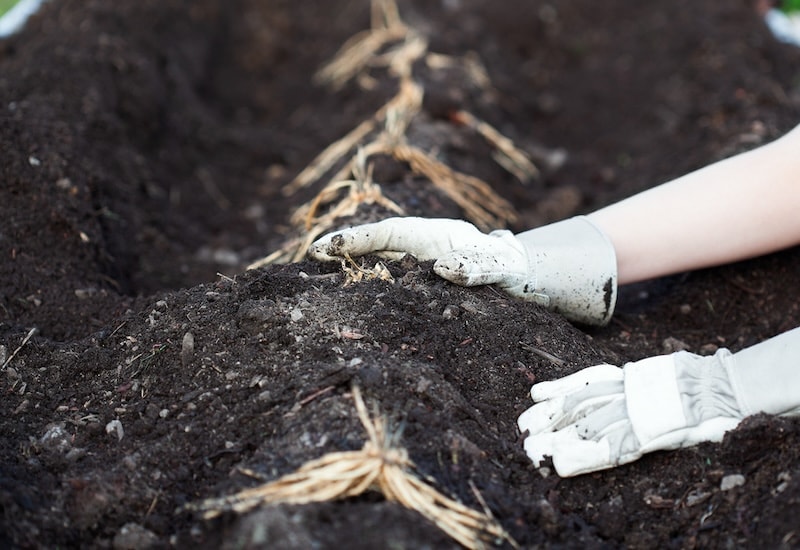
Plant your asparagus crowns on a slight mound
Image: Shutterstock
Once you’ve chosen the location for your new asparagus bed, prepare the soil in advance so as to allow the ground to settle. Dig in plenty of well-rotted organic matter and make sure that the soil is well-draining.
- Dig the soil to a spade’s depth, forking the soil layer below.
- Remove all traces of perennial weeds.
- Incorporate a good dressing of well-rotted manure or garden compost into the top 25-30cm (10-12”).
When to plant asparagus
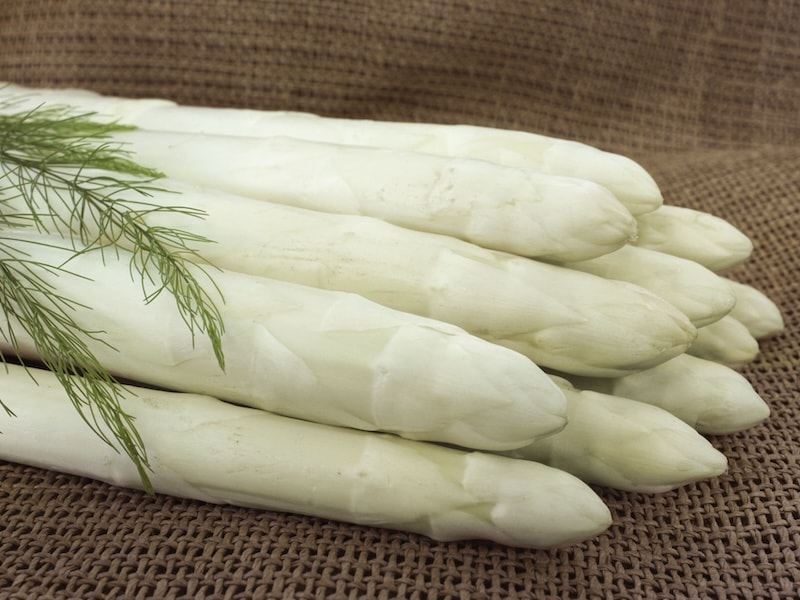
This variety can be ‘mounded up’ to produce tender white spears
Image: Asparagus ‘Rakete’ from Suttons
The best time to plant out new crowns is in April or early May. This will give the plants the greatest chance of establishing as the soil warms up. Seed grown plants should also be planted out in April or early May in their second year (12-15 months from sowing).
Avoid planting out any new crowns or plants during the summer months as the risk of the plants drying out is too great.
In my experience, it’s also better to avoid planting out in Autumn as there isn’t enough time for a strong root system to get established before the onset of winter. The young plants are therefore at risk of rot.
How to plant asparagus
These tender spears can be eaten raw or lightly steamed
Image: Suttons
Plant your asparagus crowns as soon as possible after receipt but not if the soil is very wet or frosted. Handle the crowns carefully to avoid damage and don’t let them dry out. If you can’t plant them straight away, place the crowns in a box or seed tray, surround the roots with moist peat and keep them somewhere cool and light. Here’s how to plant them out:
- Place the crowns 40-45cm (15-18”) apart with 1.2m (4ft) between rows.
- Lay the crowns on a mound or curved ridge approximately 10-15cm (4-6”) high.
- Spread the roots over the ridge and lightly cover with fine soil or well-rotted garden compost. Further thin layers of soil can be added as the plants develop, to prevent the roots drying out.
- If the crowns are placed too close together the spears are likely to be thinner due to extra
- competition for nutrients and moisture.
- After planting, apply a long-lasting top-dressing of blood, fish and bone, hoeing it in gently.
- Don’t harvest any asparagus in the first year of planting. During this period the crowns are building up in size in order to produce heavy crops thereafter.
- A maximum of one or two spears can be harvested from each plant in the second year if they’re growing strongly. However, it’s essential that the rest should be left on the plant to develop and mature into ferns. This will strengthen and build up the crown for future years.
- The first meaningful crop should be taken in the third year (that is, two years after planting).
How to care for asparagus
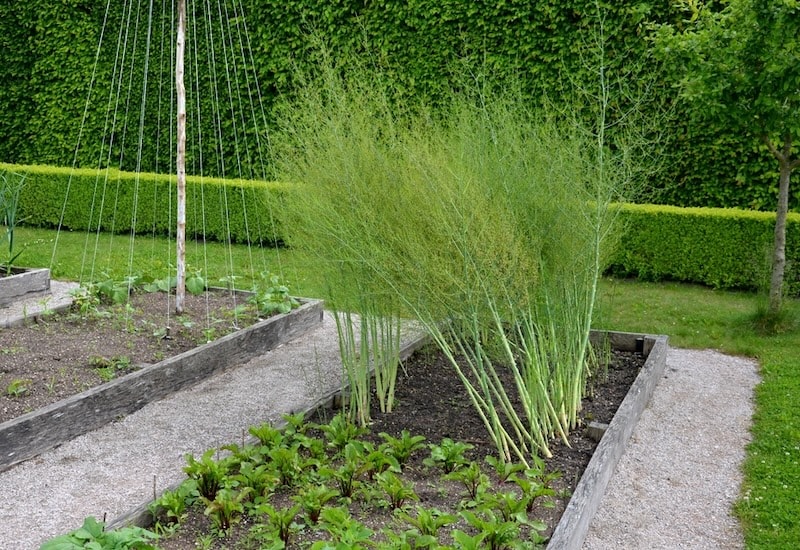
Asparagus plants throw up tall ferns that can snap in strong wind
Image: Shutterstock
Asparagus is relatively easy to care for, and this perennial vegetable returns year after year with just a little TLC. Here’s how to look after it:
- Once your asparagus is planted, keep the beds free from weeds by hand weeding or shallow hoeing – but avoid disturbing the roots which can be easily damaged.
- Pay particular attention to watering in dry spells during the plants’ first season. It’s critical that the young plants don’t dry out or they will wither and die. Even once your crowns get well established you should avoid letting them dry out for any length of time, as cropping will be impaired.
- As young spears begin to push up through the soil, they will be vulnerable to slugs. If you have heavy soil, or the land is wet when the spears start to emerge, some slug protection is essential to avoid the crop being decimated.
- Once the spears have peaked, the plants send up long ‘ferns’. These are liable to be blown over in the wind in exposed areas. The way to combat this is to provide support with canes and twine, either individually per plant, or around the perimeter of the asparagus bed.
- In autumn, when the ferns turn yellow, cut them down to within 3 cm (1”) of the ground for the winter.
- If you’re growing an all male bed like me, look for any rogue female plants before you cut the foliage back. You’ll be able to spot them as they produce small round berries on the ferns. Remove these plants, as the yield will be less than with the male varieties.
- Protect your crowns with a thin layer of well rotted leaf mould or garden compost either in late autumn or early spring.
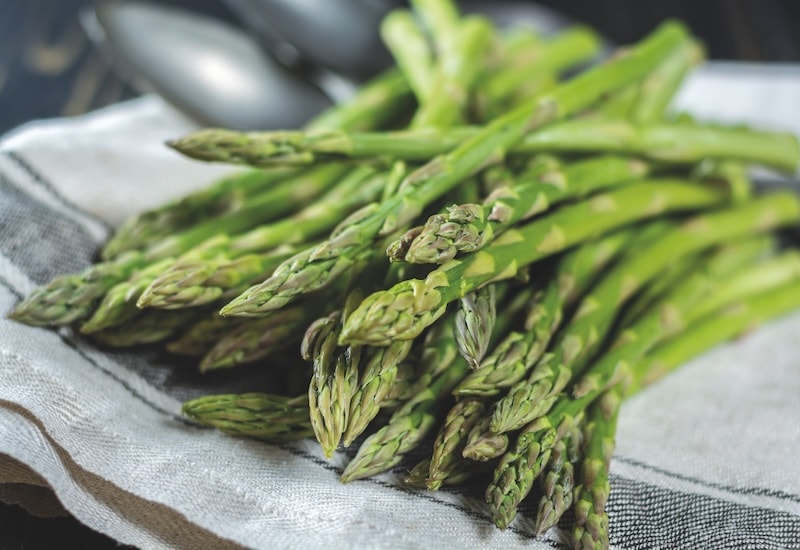
How and when to harvest asparagus
This variety produces thick spears that have good disease resistance
Image: Asparagus ‘Backlim’ from Suttons
Depending on the season, you can usually start to cut spears from around mid April and continue until around Father’s Day in mid-June. Always stop harvesting in mid-June, and leave the crowns to develop and build up reserves for the next season. Overcropping can lead to abnormally thin spears.
Harvest the spears when they are 12-18cm (5-7”) above the ground, cutting them 3cm (1”) or so below the soil surface with a sharp knife. A special Asparagus knife can be used though I’ve been known to use scissors or secateurs successfully at times in desperation!
Take care to avoid damaging other developing shoots. This is easily done, and on a number of occasions I’ve inadvertently destroyed an adjacent spear to the one I’m cutting, a real bittersweet moment.
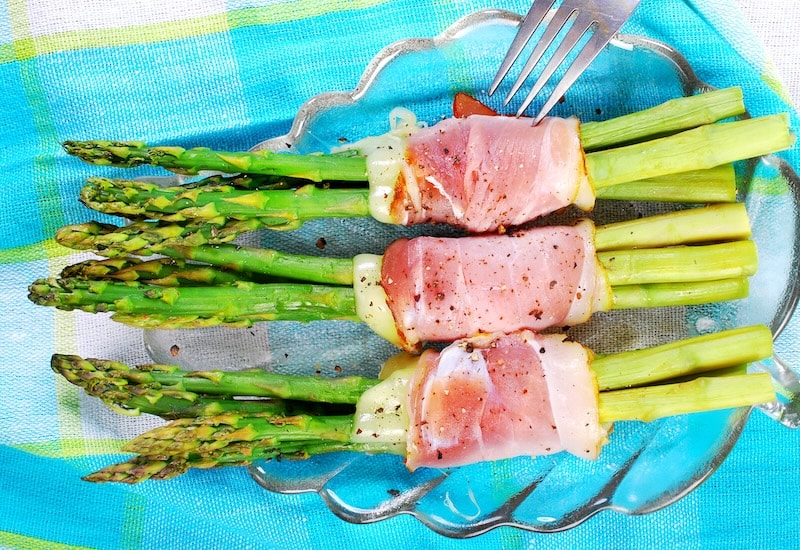
We hope we’ve inspired you to start your own asparagus bed. Expensive to buy in the supermarket, this luxury perennial vegetable tastes infinitely better when picked and eaten on the same day from your own garden! Find more of Lee’s practical, hands-on, vegetable growing advice over at his monthly allotment pages.
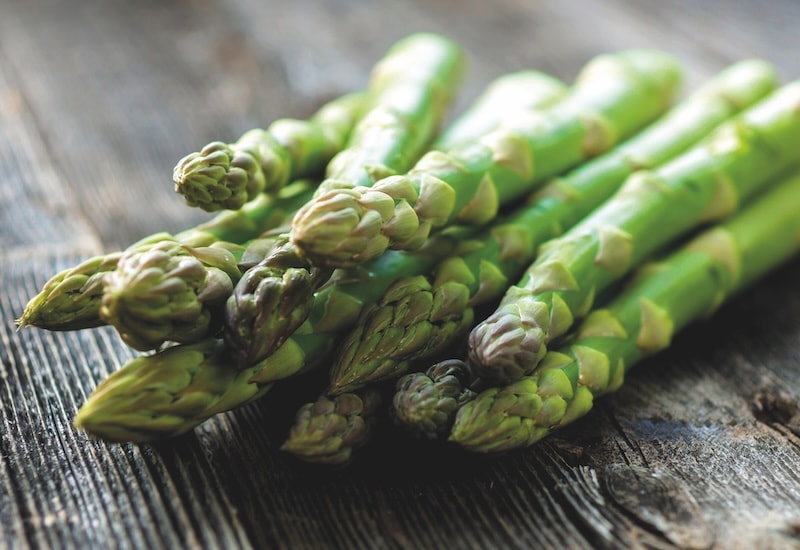
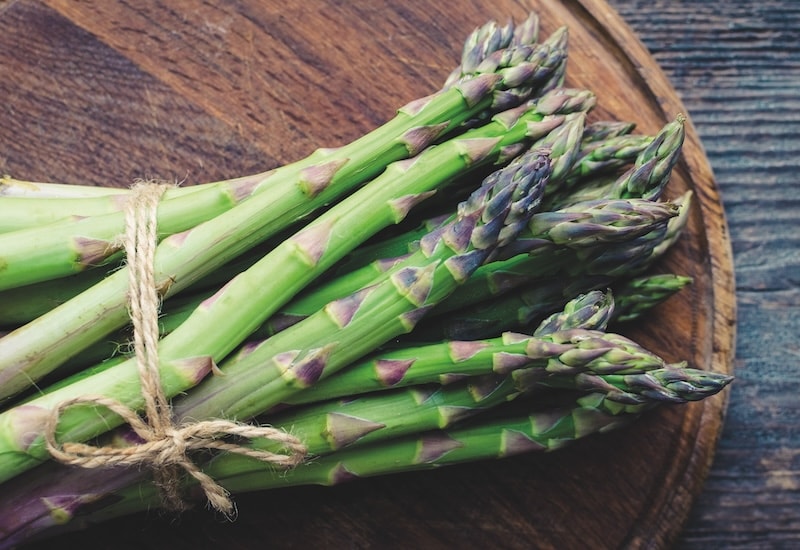
Lead image: Asparagus officinalis ‘Mondeo’ from Suttons
Last Updated on December 3, 2025 by Suttons Horticultural Team


