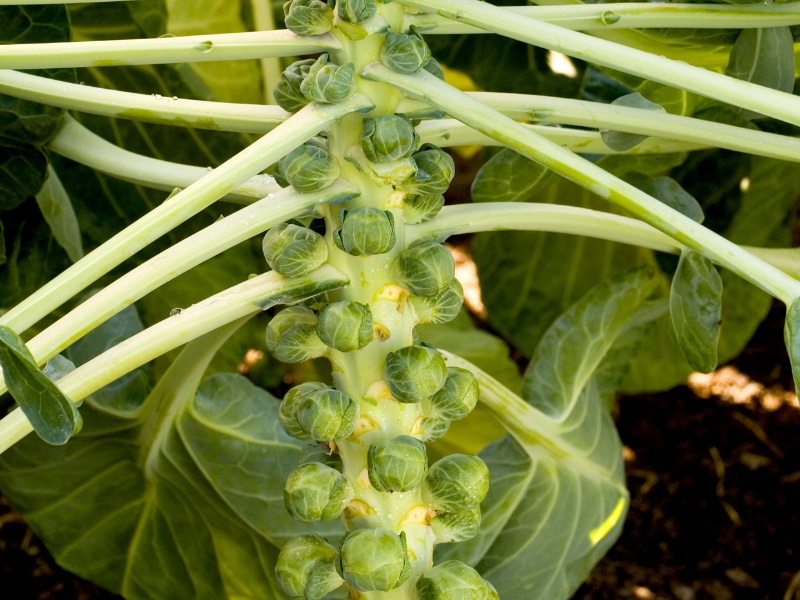
Brussels sprouts are easy to grow from seed and produce a valuable and highly nutritious crop through the winter months. Incredibly hardy, they taste even sweeter when exposed to hard frost. We asked experienced allotment grower Lee Senior to share his expert advice on successfully growing Brussels sprouts. Here are his top tips.
Want to give it a go? Browse our full range of Brussels sprouts seeds.
How to choose the best Brussels sprouts to grow
Flavour is a key consideration with Brussels sprouts, perhaps even more so than with other veg. Historically it was the bitterness of some varieties that put people off eating them. Many of us can probably remember eating sprouts for the first time in our childhood and, in some cases, never forgetting it! These days, things have changed for the better. Admittedly you might not want to eat them before a job interview, but I’m a big fan of sprouts. They’re a reliable winter staple and I wouldn’t be without them at my Christmas dinner. Today modern varieties are far better tasting and the bitterness is no more!
Another consideration when growing sprouts is when you’d like to harvest them. Early varieties like F1 ‘Crispus’ can be ready as soon as mid-September. I’ve grown this on my allotment more than any other variety over the years and had great success with it. F1 ‘Brigitte’ is also a superb-tasting early sprout that’s ready from October through to mid-December. Another favourite of mine, it’s very reliable.
If you want sprouts for Christmas then a mid-season type is best. F1 ‘Brenden’ nicely fits the bill. It holds really well and is a heavy cropper that can be harvested from early November until early February.
If space is tight, or your location is a little windy and exposed, then semi-dwarf ‘Long Island’ is the option to go for. This variety is a little shorter and stockier than standard types, reaching just over 2ft (70cm) in height instead of the usual 3ft (90cm). It has a long harvest season, often stretching from the end of October into mid-February, which is very handy for continuity.
How to sow Brussels sprouts seeds
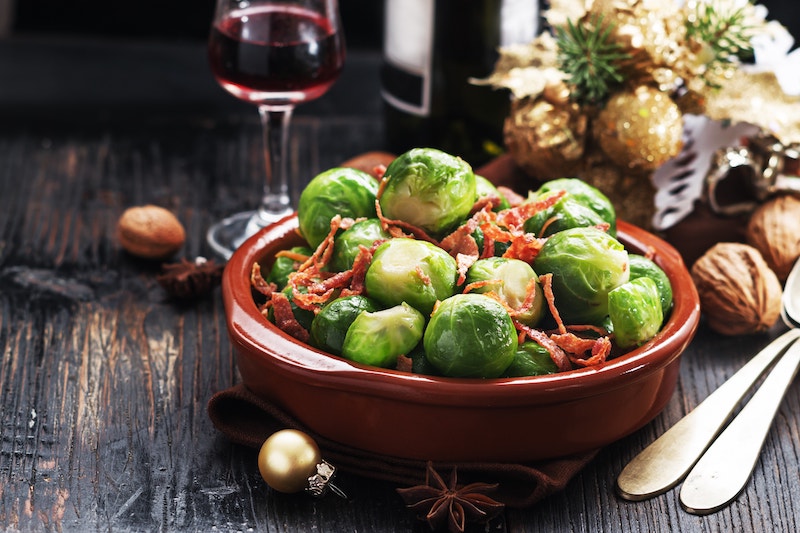
Image: Brussels Sprout ‘Brodie’ F1 seeds from Suttons
Brussels sprouts are slow growing and need a long growing season. Accordingly the seeds should be sown under cover in late February or early March. Start the seeds off in gentle warmth of 15C-18C (59-64F) in small pots or root trainers filled with multi-purpose or seed compost.
Sow the seeds shallowly, just below the surface of the compost, and cover with vermiculite or a thin layer of compost. Firm gently and wait for germination which should take 7-10 days. I use a heated propagator or windowsill, but you can keep them in a cold greenhouse if the weather is warm enough.
After germination, wait for the first set of true leaves to appear. At this stage, I prefer to transplant the seedlings into individual 3 inch pots so they can develop into good strong plants with five or six leaves and a good root system.
If growing under glass it’s very important not to subject the young plants to too much heat or direct sunshine. This can cause them to stop growing and ultimately the plants are likely to fail to develop properly or may even bolt.
Brussels sprouts can also be sown outdoors in a specially prepared seedbed before being transplanted into their final positions. Sow at a depth of up to 15mm and germination takes 10-14 days in warm spring weather. Cover the seed drills with multi-purpose compost, or fine soil, and use a layer of fleece for extra warmth.
Sowing the seeds outdoors omits the need to harden off the young plants, but germination is inevitably slower due to the erratic temperatures. Slugs are also a real threat. I’ve seen these voracious molluscs devour the young seedlings overnight, almost wiping the seedbed out. For that reason, I prefer sowing under glass in a more controlled environment.
When and where to plant out Brussels sprouts
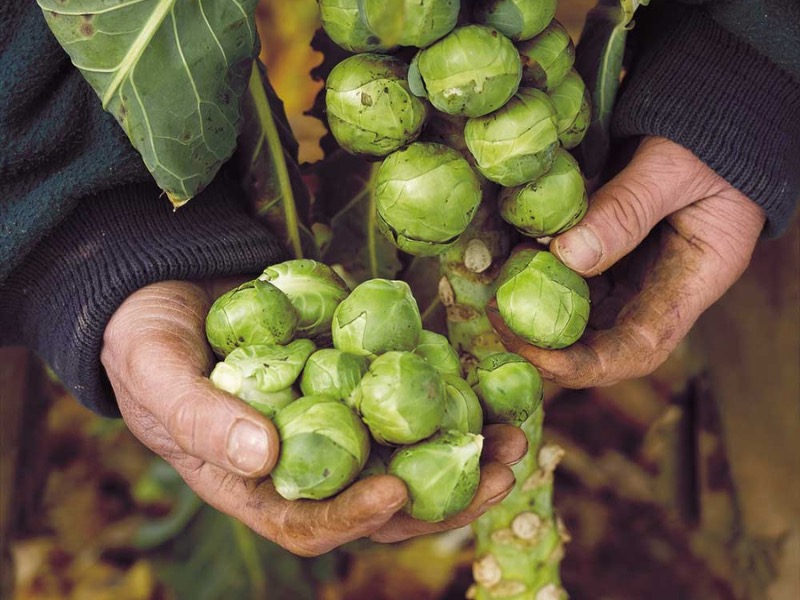
Image: Brussels Sprout F1 ‘Brigitte’ seeds from Suttons (©Thompson & Morgan)
Brussels sprouts occupy their final planting out positions for a long period of time. This invariably ranges between 8-10 months, depending on variety and growing conditions. This is a key consideration when planning your crop rotation, as it’s impossible to plant a follow-on crop in the same year. That said, I’ve often grown a catch crop of fast-growing radish to get a little more out of the space. The radish is ready to harvest within 4-5 weeks and won’t affect the sprouts if planted out around the same time.
When choosing a home for your sprouts, bear in mind that they prefer slightly heavier, firm and fertile soils with a neutral or slightly alkaline PH. A sheltered location is desirable. The key proviso is good drainage, as planting in waterlogged heavy clay will lead to problems. Sandy or very light soils are not ideal as the plants are susceptible to wind rock and can even get blown over.
Brussels sprouts need a good supply of nutrients and reliable moisture. Adding copious amounts of well-rotted manure, garden compost or even leaf mould is therefore important before planting out. This can be done during wintertime if required.
If you’ve raised your seedlings under glass, harden them off at the end of April or early May before planting them out into their final positions. Use a trowel and plant them very firmly, not less than 2ft (60cm) apart. The rows should be at least 2.5ft (75cms) apart, preferably a little more if space allows.
How to care for Brussels sprouts
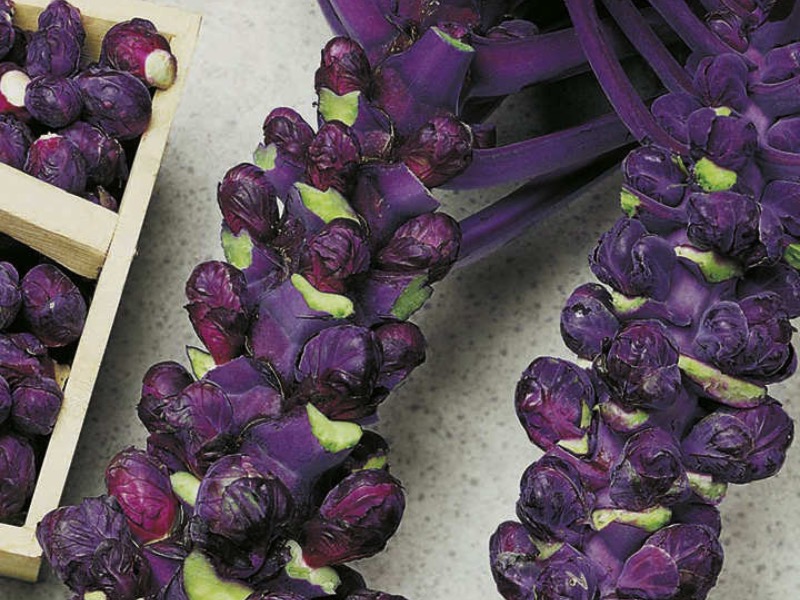
Image: Brussels Sprout ‘Red Ball’ seeds from Suttons (copyright Floramedia)
My most important tip when planting out sprouts is to firm the soil around the roots! ‘Setting them in concrete’ was the old adage we were told as students, but don’t take it too literally! Transplant the plants into firm soil and then use the heel of your foot to firm them in before watering well. The roots need firm soil around them to produce tight button sprouts. Don’t be afraid to repeat this firming in process in autumn, if required, in preparation for any incoming wintry weather.
A common problem with sprouts is being ‘blown’. This means that the buttons are not tightly formed and are instead rather soft and loose and almost like very tiny cabbages. If this happens they’re still edible and can be treated as mini greens, but this isn’t really what we’re looking for! One of the main causes of blown sprouts is wind buffeting the plants and the roots becoming less firm. Firm the soil around the roots periodically as required to help reduce the risk of this occurring. On windy sites I’ve had to stake the plants occasionally to provide stability. Another option is to mound soil against the base of the stem to anchor the plant. Other causes of ‘blown’ sprouts include poor, infertile soil and dryness at the roots.
If your plants are leggy and prone to falling over, you might have planted them too close together, restricting their vigour and growth. The buttons are also likely to be smaller and may on occasion be blown. Keep your plants well-watered during dry summer weather to maintain plant vigour and the quality of the buttons.
Common pests that affect Brussels sprouts
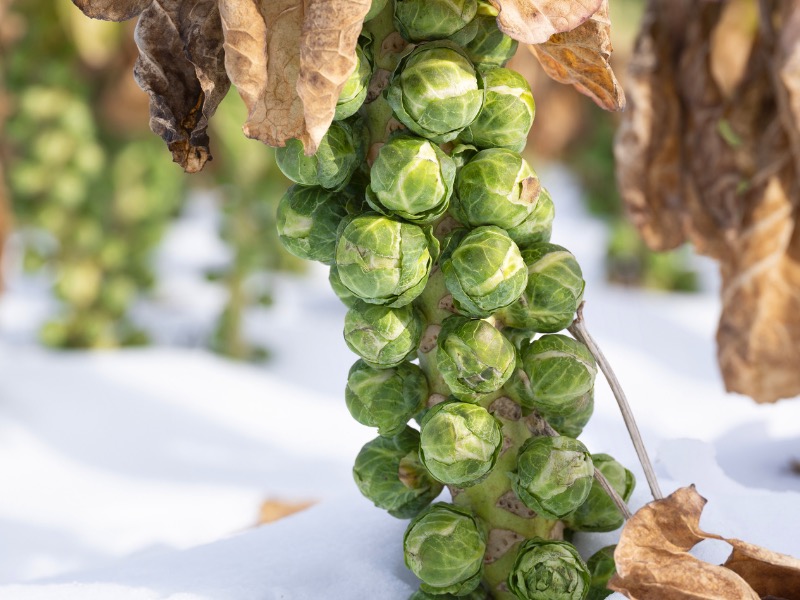
Image: Brussels Sprout ‘Long Island’ seeds from Suttons
As part of the brassica family, Brussels sprouts are susceptible to pests. If you cover the plants with fine mesh or anti-butterfly netting at planting out time, this will deter the cabbage white butterfly from laying its eggs and thus any subsequent caterpillar attack.
Brassica collars are useful for deterring the troublesome maggots belonging to the cabbage root fly. This fly, which at first glance resembles a house fly, can also be controlled by biological means using a product such as Nemasys. Cabbage root fly will, in many cases, render the plant useless and can be a serious problem.
A less serious problem, cabbage whitefly can affect the underside of the leaves. You may see clouds of them fly away if you shake or tap the plants!
Cabbage aphids are common, especially in milder winters. The good news is that if your plants are otherwise healthy, they shouldn’t be a problem. Aphids can be confused with whitefly but, tellingly, they don’t fly away when disturbed and are often (not always) of a grey appearance.
The soil-borne clubroot disease is a potential problem for all brassicas. Try to choose a variety that shows some resistance to it. Also plants grown in pots rather than sown directly will fare better if the disease is prevalent in your soil.
How to harvest and store Brussels sprouts
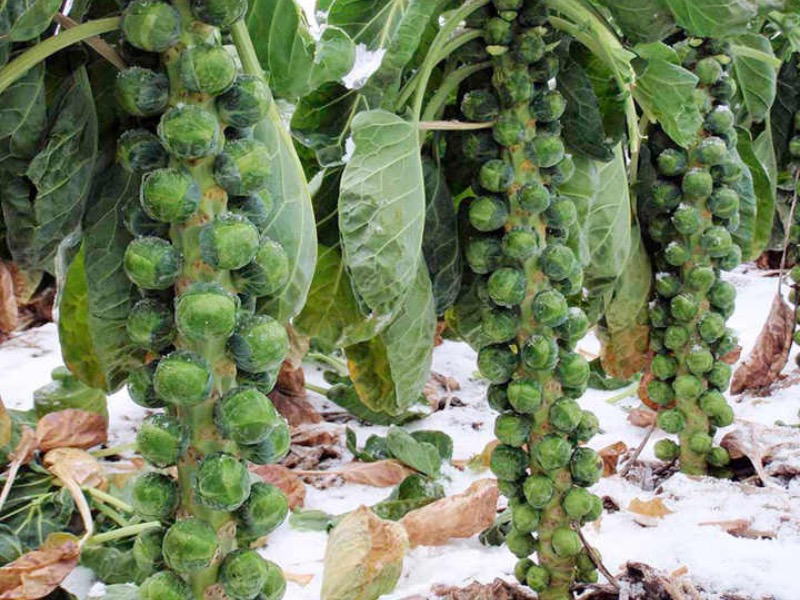
Image: Brussels Sprout F1 ‘Brenden’ seeds from Suttons
Common consensus on allotments across the land is that the flavour of sprouts is at its best after a hard frost or two. The frost takes the edge off any bitterness in the sprouts and in some varieties it even ‘sweetens’ them.
A golden rule when harvesting the buttons is to pick them from the bottom of the stem upwards. This encourages others to develop higher up the stem. I must confess that occasionally I haven’t adhered to this when presented with some beautifully tight buttons part way up the stem, ahead of smaller ones below!
The tops of the sprout plants can be used as tasty loose leaf green greens. Blown sprouts can be used in the same way, which just goes to show that very little goes to waste on the humble Brussels sprout plant.
Don’t be alarmed if some of the buttons develop the odd yellow outer leaf or two. I pull these off and sometimes even the whole outer layer of leaves to reveal lovely tight green buttons inside. The buttons can sit for weeks on the plant before harvesting – particularly during cold weather.
Once harvested, the buttons store really well in a cold fridge for around two weeks. Eventually they do start to go a little softer but this is a crop that is durable to the very end.
We hope we’ve inspired you to try growing your own Brussels sprouts from seed. With a little planning, you could even grow your own Christmas dinner! Find more of Lee’s practical, hands-on, vegetable growing advice over at his monthly allotment pages.
Lead image: Brussels Sprout ‘Cryptus’ F1 seeds from Suttons
Last Updated on July 29, 2025 by Suttons Horticultural Team

