It’s easy to grow your own mushrooms using a Mushroom Growing Kit. Whether you’re an experienced gardener or complete beginner, this handy kit includes everything you need to get started. Provided you have the right growing conditions and a little patience, you’ll be harvesting your first crop in just a few weeks!
Mushrooms are fungi, which means they grow from microscopic spores (not seeds). These spores develop under the ground, so you might not see much happening to begin with. But under the surface, tiny filaments called hyphae are spreading to form a mass called a mycelium. It’s the fruit of this mycelium that we eat as mushrooms.
You will need:
- A mushroom windowsill kit containing: base tray, colonised substrate, a bag of cover compost and a plastic lid.
- A small knife.
- A bowl containing 0.5L of water.
- A small watering can.
- A thermometer.
- A plant mister or spray bottle.
Video guide to growing mushrooms with a windowsill kit
- Open your kit as soon as it arrives. Remove the bag of cover compost and store it in a cool place.
- Put the lid on the base tray (containing the substrate) and keep at a temperature of 20-25°C for at least 4 days. After this period, the substrate will have turned completely white with fungus (mycelium).
- Take the bag containing the cover compost and punch ten holes in each side using a knife.
- Place the bag containing the cover compost in a large bowl containing 0.5 litres of water – leave for 20 minutes. Remove the bag from the bowl, open, and spread the cover compost evenly and loosely over the substrate.
- Now put the tray aside with the lid closed for 5–8 days, at a temperature of 20–25°C. During this time, the mycelium will grow through the layer of cover compost to the surface.
- Once the cover compost is covered with white mycelium, put the tray in a cooler space of 15–18°C. Make sure that the surface of the cover compost doesn’t dry out by regularly mist spraying.
- The mushrooms first appear around the edges of the tray, and later in the centre. When a good number of pins appear, you can use a watering can rather than misting. Keep the substrate and cover compost moist but not too wet.
- To harvest, take a mushroom between your fingertips and carefully twist it out.
- Water regularly to prevent the cover substrate from drying out between harvests.
- Once all the mushrooms have been harvested, water again and wait. After about a week, new mushrooms should appear. This process may repeat itself three times.
Top tips for mushroom growing

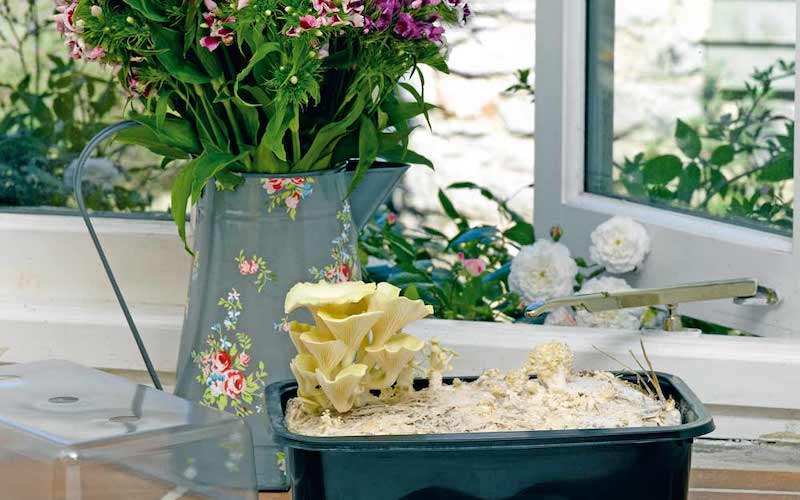
Windowsill mushroom kits are an easy way to grow your own crops
Image: Yellow oyster mushroom windowsill kit from Suttons
- Start using your kit as soon as it arrives – they’re unsuitable for storage.
- Always wash your hands before you handle any of the kit – this stops germs getting into the substrate.
- Carefully maintain the recommended temperatures at each stage.
- Keep the compost moist and out of direct sunlight, and your first crop should be ready to pick in a matter of weeks.
- You can expect at least another 2 pickings after that (full instructions are included in your kit).
- White button mushrooms are a versatile, tasty crop. If you’d like to grow more exotic varieties, take a look at our Nameko, Shiitake, Oyster and Chestnut mushroom kits.
We hope you’ve enjoyed our guide to growing mushrooms using a simple windowsill kit. You can also grow mushrooms using other methods, including spawn and plugs. See our full mushroom range here.
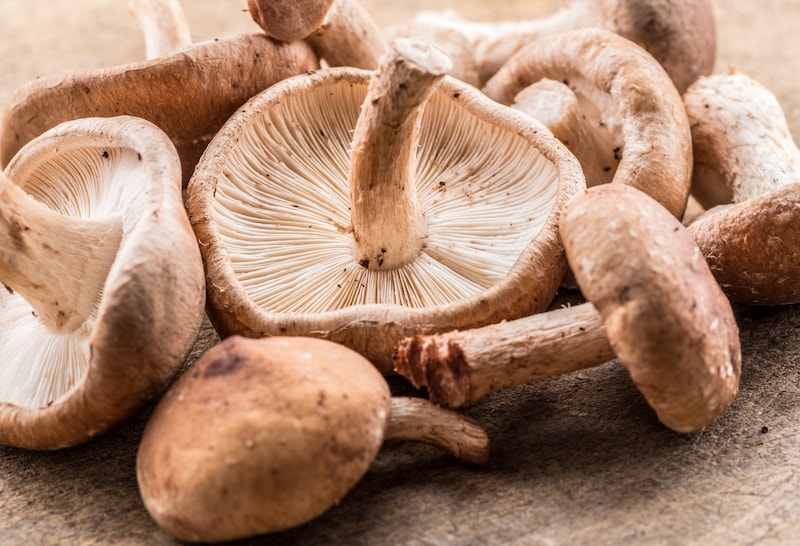
Lead image: Mushroom Windowsill Kit – Shiitake from Suttons
Last Updated on October 21, 2025 by Suttons Horticultural Team


Hi David, you can grow the mushroom spawn satisfactorily on peat free multi purpose compost. We hope this is helpful to you!
Best regards,
The Suttons Team
HI
I bought Dobies Cat Ref 257582 – Mushroom Grain Spawn – Button 100g pack – some weeks ago
On the instruction it says use a mixture of compost & Chalk – I cannot find a supplier of just chalk –
I have tried looking for Nitrate of Chalk which is a fertilizer but no local garden centres stock this. I can only find it on the internet & Dobies don’t stock it.
Can I use somethin else?