Do you want extraordinary harvests of homegrown tomatoes this year? Try grafted tomato plants! These carefully developed and highly productive plants are miles ahead in terms of vigour and yield. Whether you prefer tiny cherry varieties, regular salad tomatoes or giant, meaty beefsteaks, here’s everything you need to know about grafted tomatoes and how to get the most from them.
What is a grafted tomato plant?
A grafted tomato plant is produced by fusing the strong rootstock of one tomato plant to the growing top of another variety. The plant with the strong root system gives the top variety (usually selected for flavour) a huge boost, increasing the yield of the fruit produced.
How are tomato plants grafted?
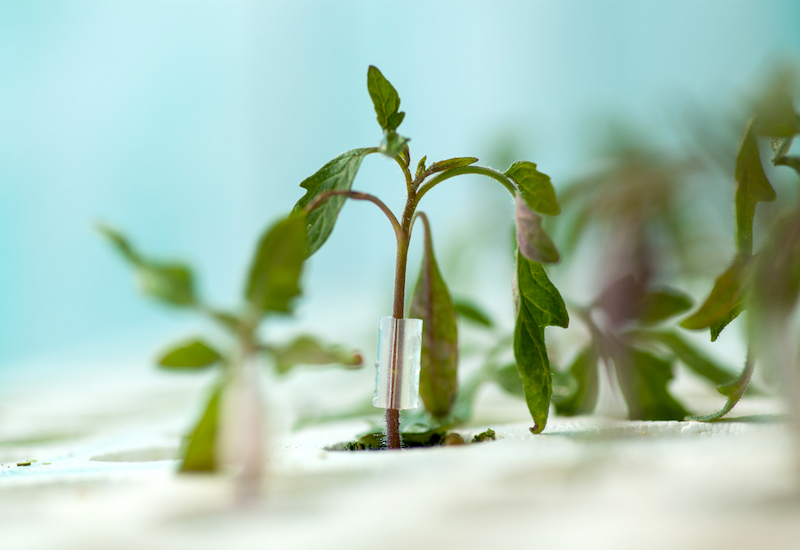
Image: Satyrenko/Shutterstock
Tomato plants are grafted using two plants that are grown simultaneously; a tasty fruiting variety for the top, and a super-strong rootstock for the bottom. The tops of the fruiting variety and the super-strong rootstock are carefully and skilfully removed by hand, using a very sharp blade to slice at an angle across each stem. The rootstock bottom and the top of the fruiting plant are then grafted together, held in place using a special clip that drops off naturally as the two sections of stem fuse and the plant grows.
The rootstock is sliced off above the first true leaf above the ‘seedling’ leaves (cotyledons). Grafting the plant above the first true leaf ‘fools’ the young plant into thinking it’s older than it really is. The tomato plant therefore produces its fruit much earlier and much lower down the stem to give you an even greater yield.
Why grow grafted tomato plants?
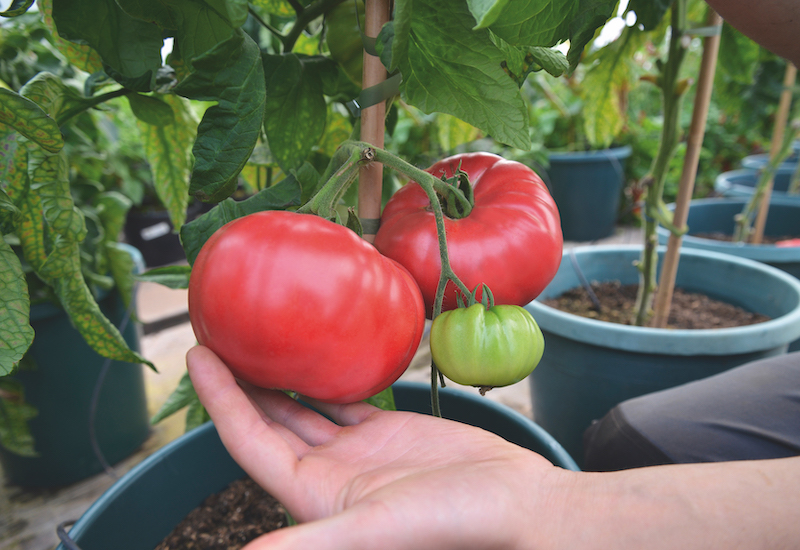
Image: Tomato ‘F1 Crimson Blush’ from Suttons
Growing grafted tomato plants gives a number of benefits, including:
- At least 6-8 trusses per single plant
- Up to 75% more fruit than ordinary tomato plants
- Earlier and longer fruiting period
- Greater yield
- Better resistance to soil-borne pests and diseases
- Better ability for outdoor growing than non-grafted tomato plants
Which grafted tomato plant varieties are best?
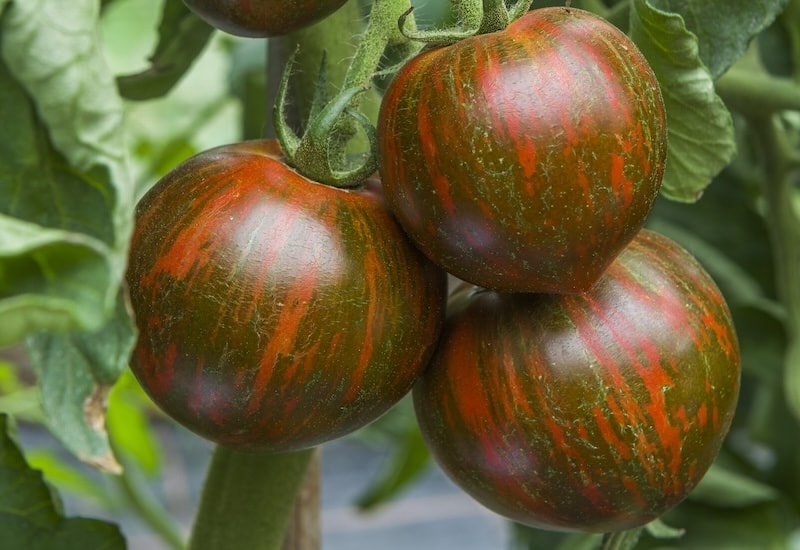
Image: Tomato ‘Purple Zebra’ from Suttons
All grafted tomato plants will produce great harvests. Here at Suttons we have a wide range of grafted varieties, from the huge ‘Buffalosteak’, which grows fruits weighing up to 700 grams each, to the miniature fruiting ‘Aviditas’.
Grow the unusual black tomato ‘Indigo Rose’ for its high antioxidant levels (the same as blueberries), or ‘Purple Zebra’ for its attractive variegated flesh. If you can’t decide, try our ‘Tomato Gardener’s Favourite Collection‘ — it’s a selection of our favourite grafted tomato plants.
How to care for grafted tomato plants
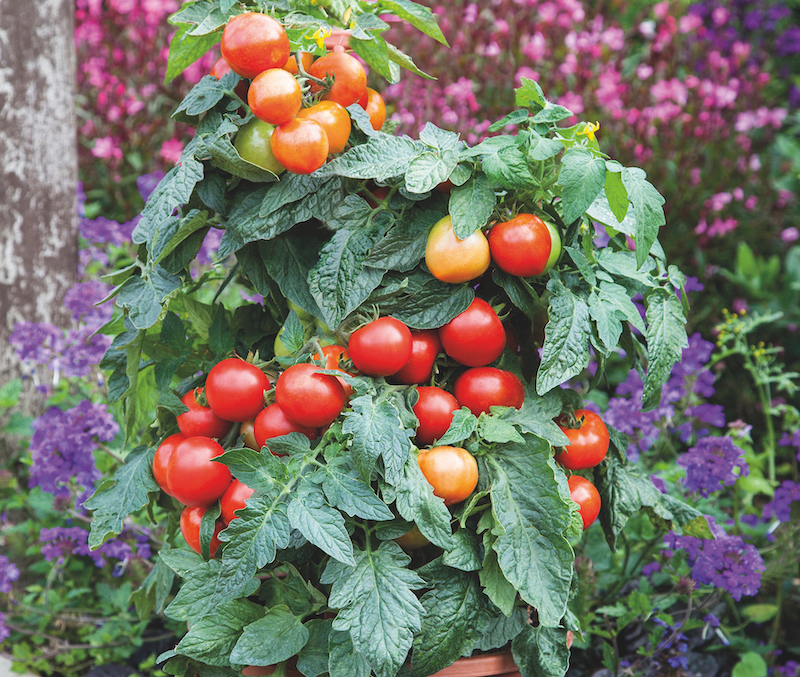
Image: Tomato ‘F1 Summerlast’ from Suttons
All Suttons grafted plants are grown in our own UK nursery and undergo rigorous inspections by our vegetable experts, ensuring you only receive the highest quality plants.
When you receive your new plant, it’s important that you give it time to adjust to its new environment. Check the compost is moist – if it’s a bit dry, pop the plant (in its pot) into a tray of water for five to ten minutes, or until the top of the compost is damp to touch.
Stand the plant in a warm, light, airy place such as a windowsill or conservatory and allow it to grow, keeping the compost moist.
Grafted plants are more vigorous than standard plants so require regular feeding. We recommend that you start feeding your grafted plants with a high potash fertiliser as soon as the first flower buds appear. You may have to feed your plants a couple of times a week when the plants are fruiting well.
Water your grafted plant thoroughly after sunset (if the compost or soil is drying). Well-watered tomato plants produce larger, juicier fruits with delicious flavour.
How to pot on or plant out your grafted tomato plants
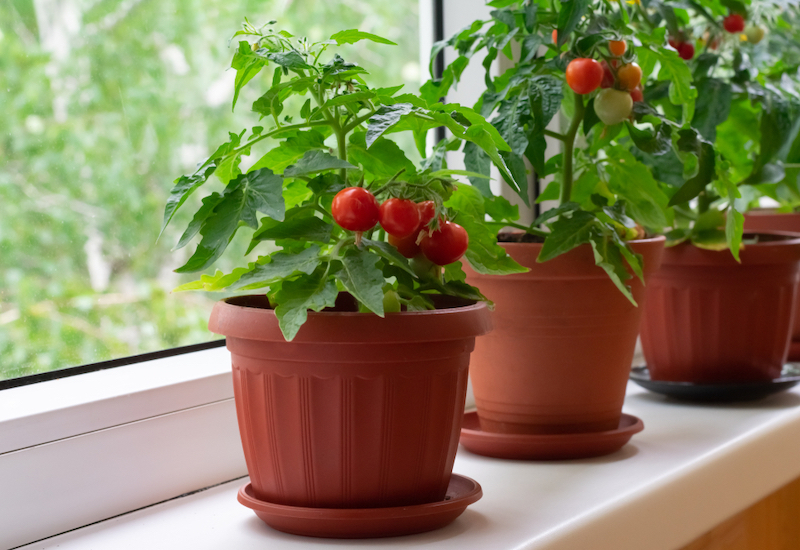
Image: Sunny_Smile/Shutterstock
As your tomato plant grows and develops, it will need transferring into a larger pot to give the roots plenty of room to grow. Whether planting in its new pot or outdoors, check that the point at which the graft was made (you’ll see a ‘bump’ on the stem) is above the compost/soil. If the grafting spot is under the soil, the top variety will root itself, removing the advantage of growing on a super-strong rootstock.
Once your plant reaches around 40cm (16″) in height, or shows its first yellow flowers, transfer it to a greenhouse or a nice sunny position outdoors, either in a container or the ground. Be careful not to move your tomato plant outside until all risk of frost has passed.
How to side shoot your grafted tomato plants
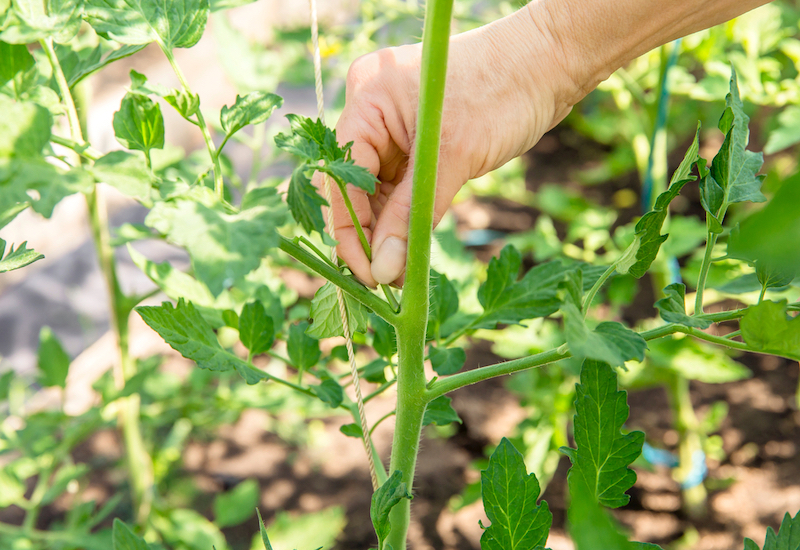
Image: FotoHelin/Shutterstock
Around May/June time, small shoots start to grow from the ‘V’ space between the main stem and the leaf branches. These are called side shoots, and should be removed or ‘pinched out’ (they don’t bear fruit). This enables the plant to focus its energy and nutrients on what will become the fruiting trusses. To remove them, simply take hold of them between your thumb and forefinger at the bottom of the shoot and pinch it off. There is an exception to side shooting: leave the shoots of Tomato ‘Lizzano’, and it will grow into a bountiful bush – perfect for a hanging basket!
How to train your grafted tomato plants
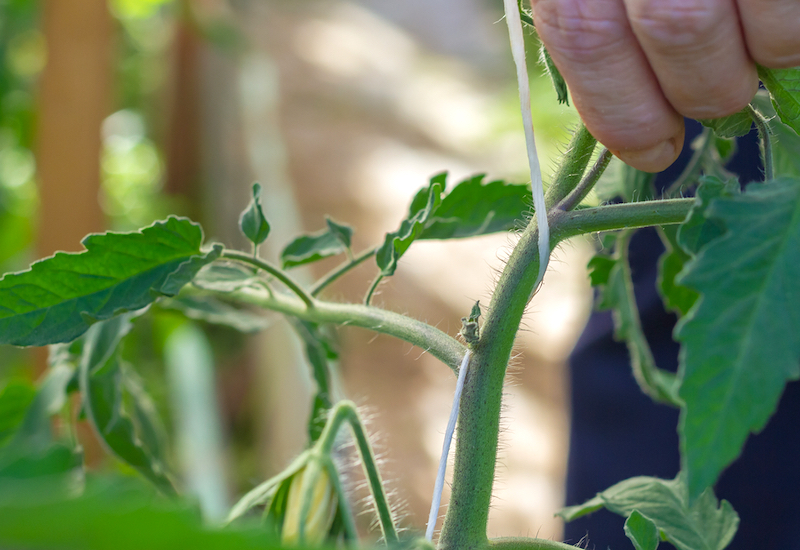
Image: Evtushkova Olga/Shutterstock
As your tomato plant develops, make sure each leaf has plenty of room to bask in the sun and is supported off the ground. The more daylight they soak up, the more healthy minerals will end up in your tomatoes. A shaded leaf will photosynthesise less, producing less energy and smaller fruit. Without enough sun the leaves will also stay slightly damp, making the plant more susceptible to fungal disease.
Trim the leaves of your tomato plant using secateurs to remove any that are low hanging or overcrowded. Initially, the procedure of removing leaves should be kept to the lower part of the plant below the first truss of fruit. As the plants grow, you can gradually remove further leaves to allow the light to reach the ripening fruit.
Once your grafted tomato plant starts to flower, give it some support. There are two ways of doing this. Either use either a 1.5m (5′) cane to support your plant, or train it on string or twine. When using canes, simply place your cane into the soil as close to the main stem as possible. Loop a small piece of twine around the cane, cross it over itself, and then loop around the stem to form a figure of 8 and tie off. Do this at regular intervals above the fruiting branches. However, the most effective way is to train your plants upward using vertical twine and wrapping the string clockwise around the plant as it grows.
Later in the season, when your plant is growing a good crop of tomatoes, remove the growing tip from the top of the plant. This directs all the nutrients and energy into the ripening fruits, encouraging them to mature.
Again, tomato ‘Lizzano’ is the exception here. It’a a ‘bush-type’ plant, and needs no support, pinching or pruning. Just let it grow and grow!
How to harvest your grafted tomato plants
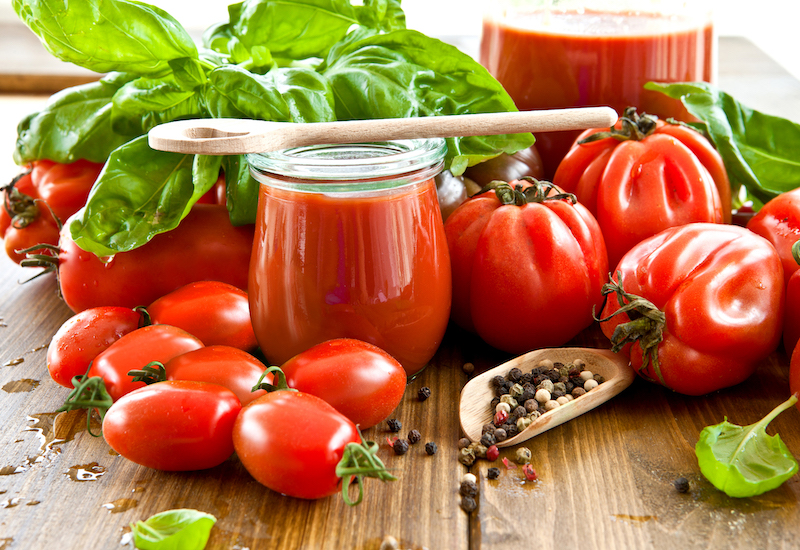
Image: Tomato ‘F1 Giulietta’ from Suttons
When your fruits are an even orange-red colour (or orange in the case of Orangino) but still firm, they’re ready to harvest. Once they start to ripen, check your plant every couple of days to catch as much fruit as you can. Use your thumb and finger to snap the fruit stem at the swollen area just above the fruit. Leaving the green stalk attached will prolong the fruit’s life. For the best flavour, store your tomatoes at room temperature.
Grafted vegetable plants are well worth growing for their improved yields and vigour. Are you going to grow any this year? If so, share your progress with us via email or our social channels. Don’t stop at tomatoes – check out all the other incredible grafted vegetables we offer too!
Watch our video tutorial and learn how to get the most from your grafted vegetable plants.
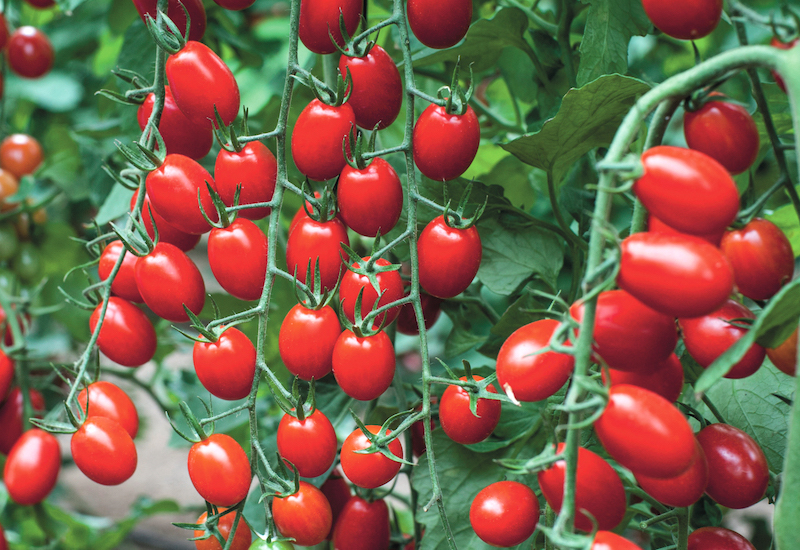
Lead image: Grafted Tomato Plants – F1 Aviditas from Suttons
Last Updated on January 30, 2026 by Suttons Horticultural Team


Can you give a guide to the likely root depth & spread of the grafted plants? After losing all my mature plants to blight in two of the last 3 years they are going to be under cover this year so an idea of minimum coontainer size would be useful.
Where can I buy grafted plants on the United States?
Good article with an excellent way of presentation. Keep it up. Thanks for sharing.